Therefore, if you are seeking methods to revert Windows Firewall back to its original settings, you’ve come across the appropriate guide. This post will provide you with the most effective techniques to reset the Windows Defender firewall to its default configuration. Let’s proceed to explore these methods.
Reset Windows Firewall Settings to Default
In this approach, we will utilize the settings page of Windows Firewall to reset its rules. Here’s the procedure to return Windows Firewall settings to their default state on Windows.
- First, we have to click on the search bar and type control panel. Next, click on the “Control Panel” from the list.

- On the control panel window click on the “System and Security” option.

- Navigate to the “System and Security” section and proceed to select the “Windows Defender Firewall” option.

- Now, on the left pane, click on the “Restore Defaults” link.

- On the next page, click on the Restore Defaults button.

That’s it! You are done. This will restore the default settings for Windows.
Reset Firewall Settings from the Command Prompt
In this technique, the Command Prompt utility in Windows 10 will be employed to reset the firewall rules. Follow these straightforward steps to initiate the process of resetting the Windows 10 firewall via the command line.
- First, open the search bar and type the command prompt and click on it and select Run as Administrator.

- On the Command Prompt window, type in the command: “netsh advfirewall reset”

- After executing the command, you will see an Ok message.

And there you have it! You’ve successfully completed the process. This is the method for restoring the Windows Firewall to its default settings using the Command Prompt utility on the Windows operating system.
Reset Windows Firewall Settings using PowerShell
Should the command prompt method prove ineffective, an alternative course of action involves attempting PowerShell. Here is the process for resetting firewall settings in the Windows environment using Windows PowerShell.
- Click on Windows search and type PowerShell. Open it as an Administrator and enter the following command. “(New-Object -ComObject HNetCfg.FwPolicy2).RestoreLocalFirewallDefaults()”

That’s it!
Restore Windows Firewall to Default via Windows Security
You also have the option to utilize the Windows Security app to reinstate the Windows Firewall settings. Refer to the following straightforward steps that we’ve provided for your guidance.
- First open the search bar, type “Window Security” and then click on it.

- Now click on the Window security app, then click on the Firewall & network protection tab

- On the right, click on “Restore Firewalls” to the default link.

- On the next Window, click on the Restore Defaults option.

That’s it!!
Reset Firewall Settings Windows 11 Using Advanced Security Tool
An alternative approach to resetting firewall settings on Windows 11 machines involves utilizing the “Firewall with Advanced Security” tools. This method allows you to restore all Firewall settings to their original defaults. Here are the steps you should follow:
- First, press the Windows Key + R button. On the RUN dialog box, type wf.msc and press enter.

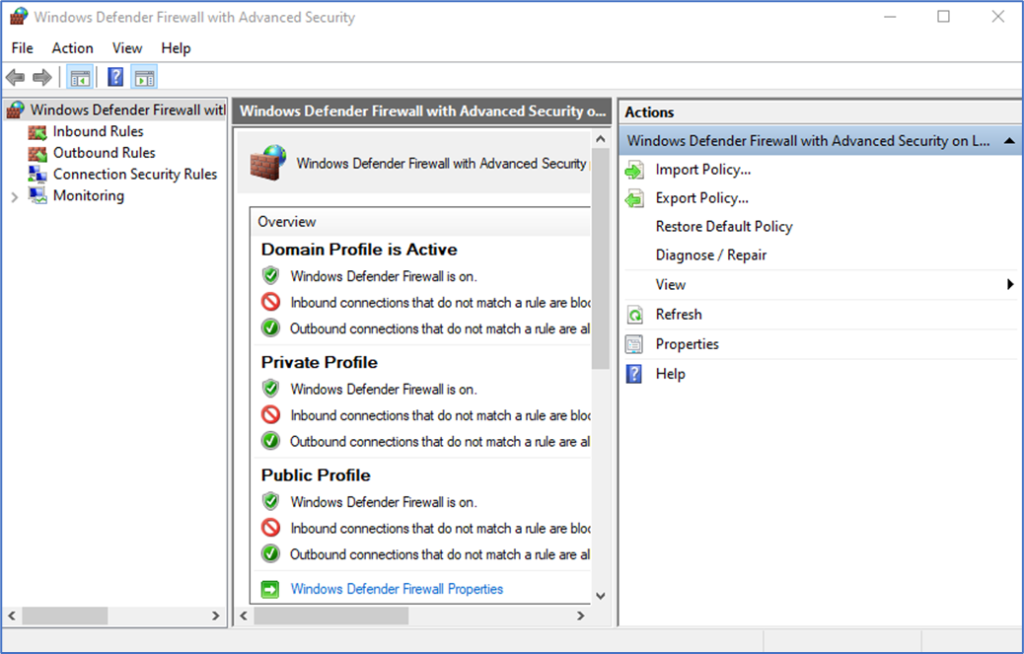
- The RUN command will open Windows Defender Firewall with the Advanced Security tool.

- Right-click on the Windows Defender Firewall with Advanced Security on the Local computer and select “Restore Default Policy”.
