An IP address is a critical identification for any device linked to a network in the current computer environment. Whether you’re troubleshooting a network problem, configuring a local server, or simply wondering about your own device’s IP address, Windows gives numerous ways to find out. In this post, we’ll look at various techniques for locating an IP address on Windows.
Using the Command Prompt
The Command Prompt, also known as CMD, is a powerful text-based tool that allows users to interact with the Windows operating system through commands. To find your IP address using the Command Prompt, follow these steps:
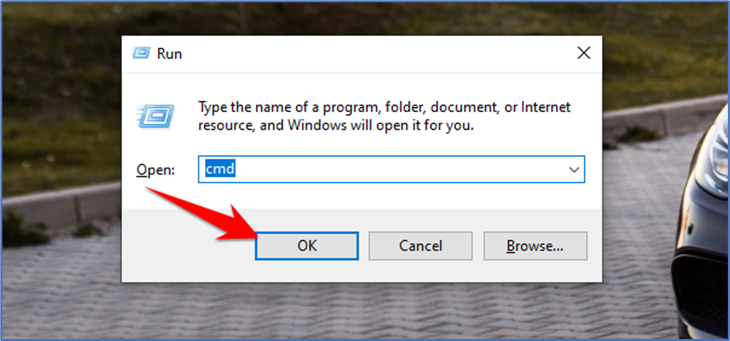
- Press “Win + R” on your keyboard to open the “Run” dialog box.
- Type “cmd” and press Enter to open the Command Prompt
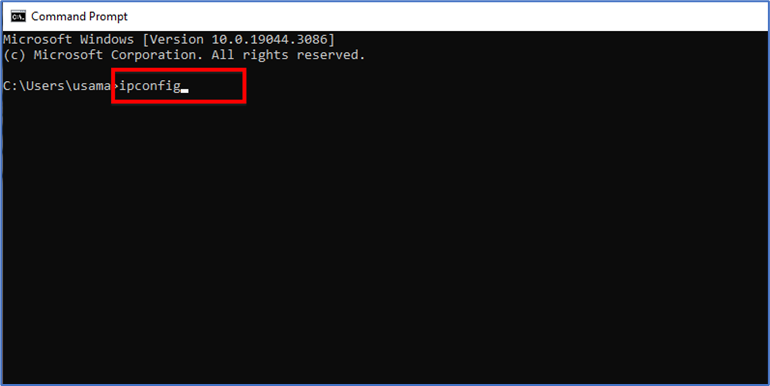
- In the Command Prompt window, type “ipconfig” and press Enter.
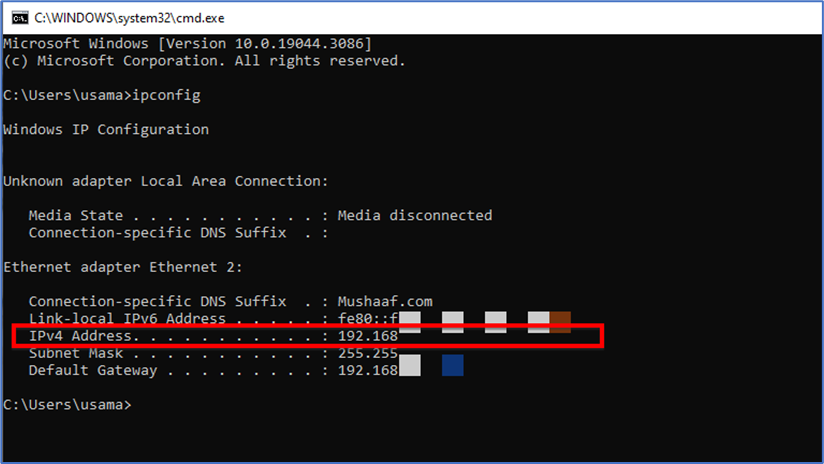
- Look for the section corresponding to the network adapter you are using (usually labeled as “Ethernet adapter” for wired connections or “Wireless LAN adapter” for wireless connections).
- Find the line that reads “IPv4 Address” followed by the IP address assigned to your device. It typically looks like “xxx.xxx.xxx.xxx.”
Using the Settings App
Windows 10 introduced the Settings app, which provides a user-friendly interface to access various system settings, including network-related information. To find your IP address using the Settings app, follow these steps:
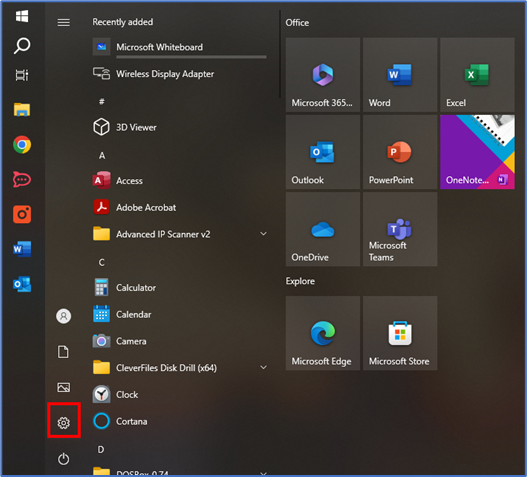
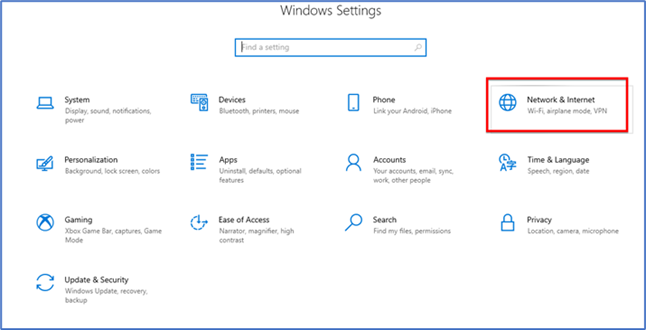
- Click on the “Start” button, and then click on the “Settings” (gear icon) on the left-hand side of the Start menu.
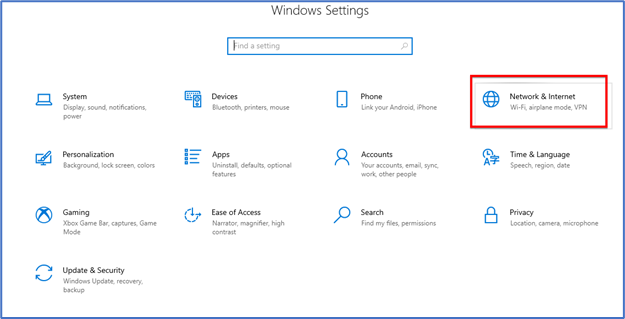
- In the Settings app, click on “Network & Internet.”
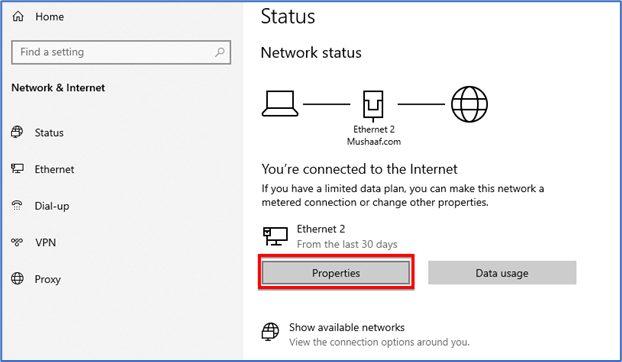
- Under the “Status” section in the left-hand menu, click on “View your network properties.”
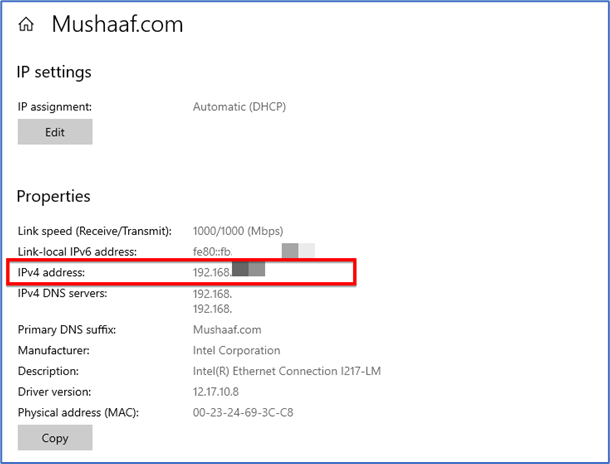
- Scroll down to the “Properties” section, and you will find the IP address listed under “IPv4 address.”
Using Network and Sharing Centre
The Network and Sharing Centre is another Windows feature that provides an overview of your network connections and their status. To find your IP address through the Network and Sharing Centre, follow these steps:
- Right-click on the network icon in the system tray (located in the bottom-right corner of the screen, near the clock).
- Select “Open Network & Internet settings.”
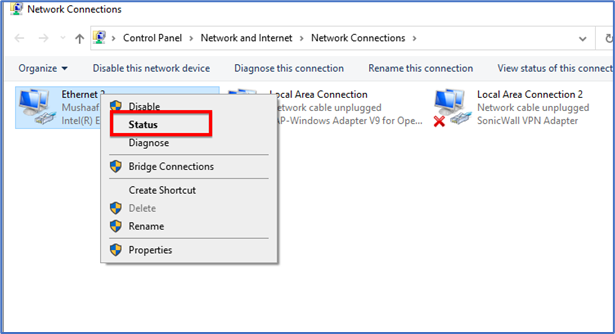
- In the Network status window, click on “Change adapter options” on the right side.

- Right-click on your active network adapter (Ethernet or Wi-Fi) and select “Status.”
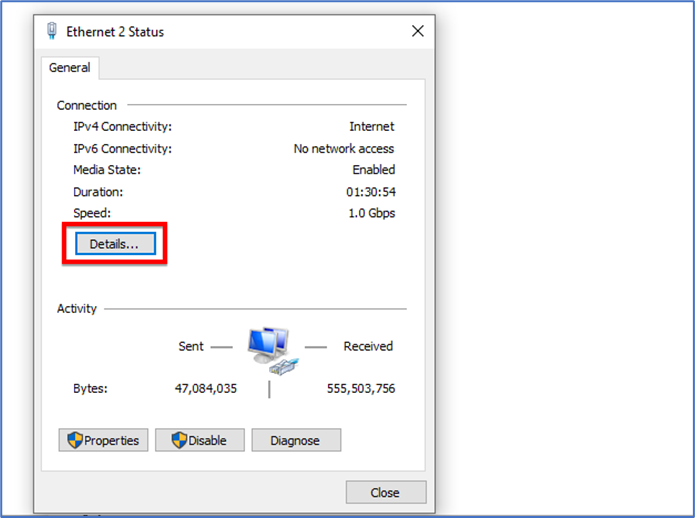
- In the new window, click on “Details.”
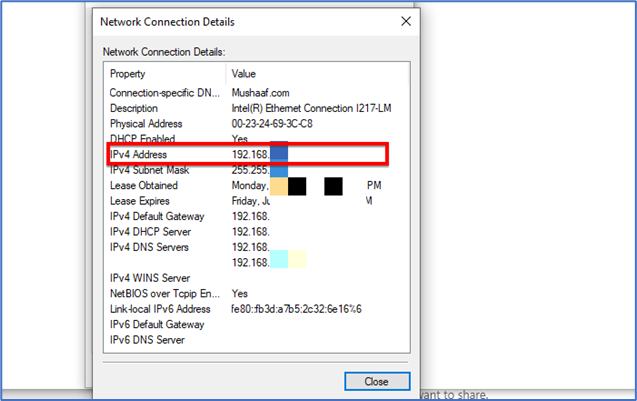
- Look for the “IPv4 Address” entry to find your IP address.
Using PowerShell
PowerShell is a more advanced command-line tool in Windows, offering greater functionality and flexibility. To find your IP address using PowerShell, follow these steps:
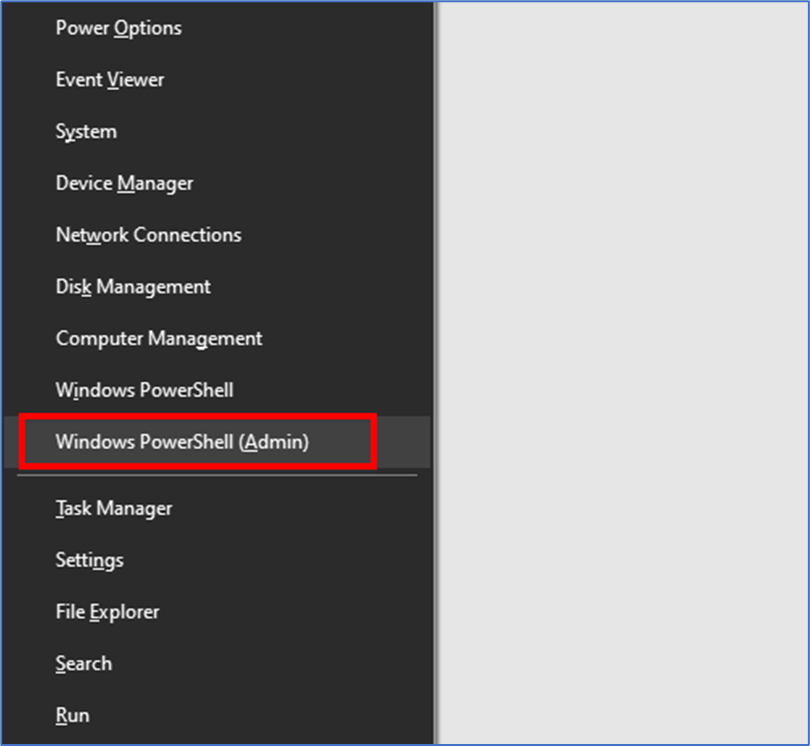
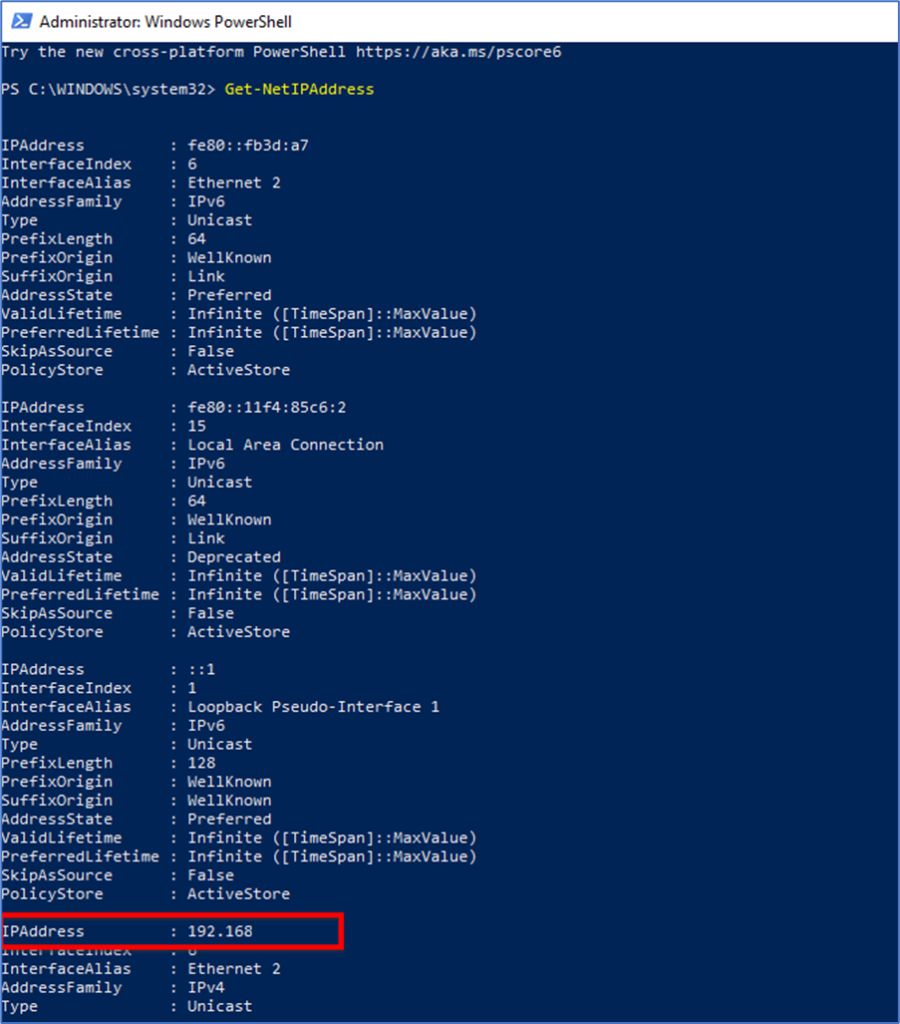
- Press “Win + X” on your keyboard, then select “Windows PowerShell” (Admin) to open an elevated PowerShell window.
- In the PowerShell window, type the command: “Get-NetIPAddress”
- Press Enter, and the command will display the IP address associated with your chosen network adapter.
Knowing how to locate your IP address in Windows may be quite useful in a variety of circumstances, ranging from diagnosing network issues to setting networked devices. Whether you prefer a graphical interface via the Settings app or the command-line efficiency of the Command Prompt or PowerShell, Windows provides a variety of ways to easily retrieve this vital information. So, the next time you need to find your IP address on a Windows-based device, just use one of these approaches, and you will be ready to travel the network landscape.