In today’s fast-paced digital world, multitasking has become vital to manage numerous tasks simultaneously. Windows 10 offers a variety of features that empower users to multitask efficiently and boost productivity. In this article, we’ll explore step-by-step techniques to master multitasking on Windows 10.

Step 1: Utilize Virtual Desktops
Virtual desktops in Windows 10 allow you to create separate workspaces for different tasks. Here’s how to use them:
- Click on the “Task View” button on the taskbar or press Win + Tab to open the Task View.
- Click on “New Desktop” to create a virtual desktop.
- Open applications on each desktop and switch between them using Task View or Ctrl + Win + Left/Right arrow keys.

Step 2: Snap Windows for Enhanced View
Windows 10 offers the Snap feature to arrange windows side by side. This is great for comparing documents or referencing information while working.
- Drag a window to the edge of the screen to snap it to half of the display.
- Snap a second window to the opposite side for a split-screen view.
- Use Win + Left/Right arrow keys to snap windows quickly.
Step 3: Task View and Timeline
The Task View and Timeline features help you quickly switch between apps and open previous tasks.
- Press Win + Tab to open Task View.
- Scroll down to access the Timeline, which shows recent activities across devices.
- Click on a previous task to resume where you left off.
Step 4: Use Multiple Desktops for Different Tasks
Multiple desktops can be used to categorize tasks and applications, making it easier to manage different projects.
- Open Task View.
- Click “New Desktop” to create additional desktops.
- Distribute applications across desktops based on tasks.

Step 5: Minimize Distractions with Focus Assist
Focus Assist minimizes distractions by suppressing notifications during work hours or when you’re in a gaming session.
- Open “Settings” and go to “System.”
- Select “Focus Assist” from the left menu.
- Choose when to enable Focus Assist: during specific hours, when gaming, or always.

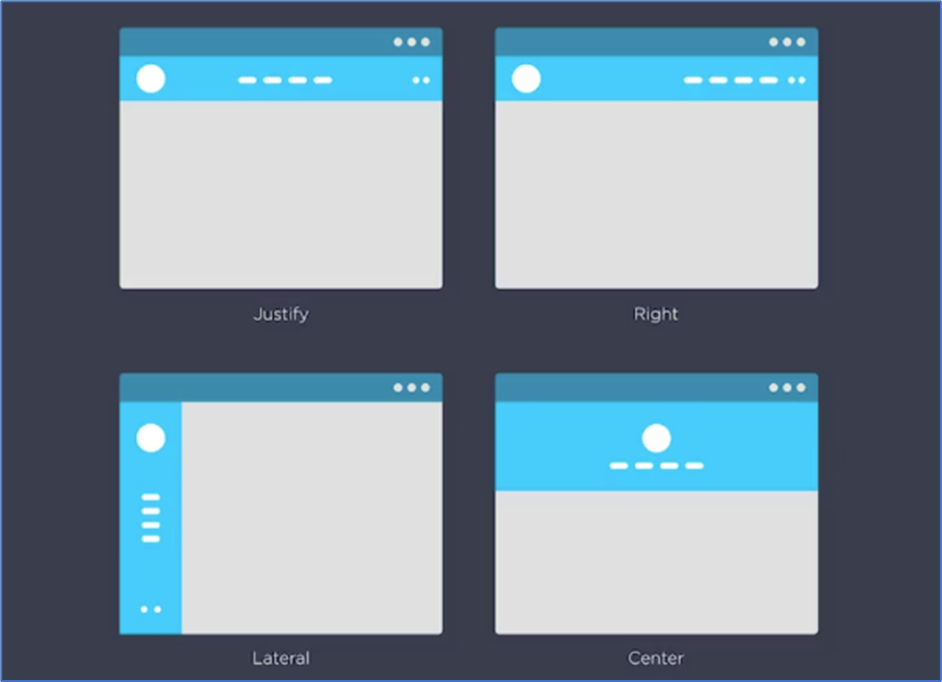
Step 6: Utilize Snapping Features
Windows 10 includes advanced snapping features that help you effectively organize windows on your screen.
- Snap windows to corners by dragging them to the corners of the screen.
- To organize four windows, snap two windows on each side.

Step 7: Keyboard Shortcuts for Quick Navigation
Keyboard shortcuts can save time and streamline your multitasking efforts.
- Win + Tab: Open Task View.
- Alt + Tab: Switch between open applications.
- Ctrl + Win + Left/Right arrow keys: Move between virtual desktops.
- Win + D: Show desktop; press again to restore windows.
- Win + Number keys (1-9): Open apps from the taskbar based on their position.
Mastering multitasking on Windows 10 requires practice, but with these step-by-step techniques, you can significantly enhance your productivity. Whether you’re juggling multiple projects, referencing information, or collaborating with colleagues, these features empower you to navigate your tasks seamlessly and efficiently. By incorporating these techniques into your workflow, you can make the most of Windows 10’s multitasking capabilities.