An odd quirk in Outlook is the inability to add a default signature to meeting requests. Here’s a quick and simple way to set up a one-click solution that avoids cutting and pasting every time you create a meeting.
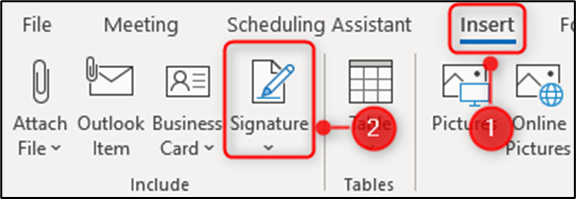
We’ve covered creating, editing, and applying Outlook signatures in detail before, but these can only be applied to emails. If you’re required by your employer to add a signature-or if you just feel it’s more professional to use one-then sending out a meeting request requires you to either copy and paste a signature in or use Insert > Signature.
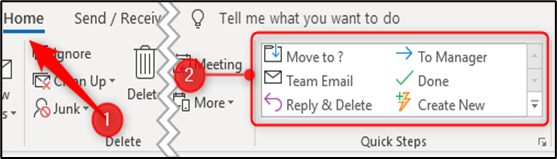
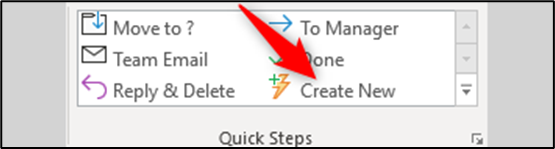
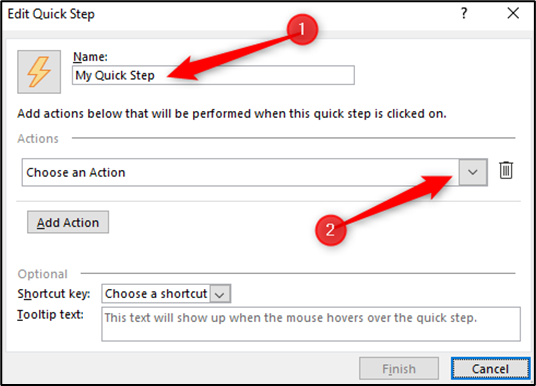
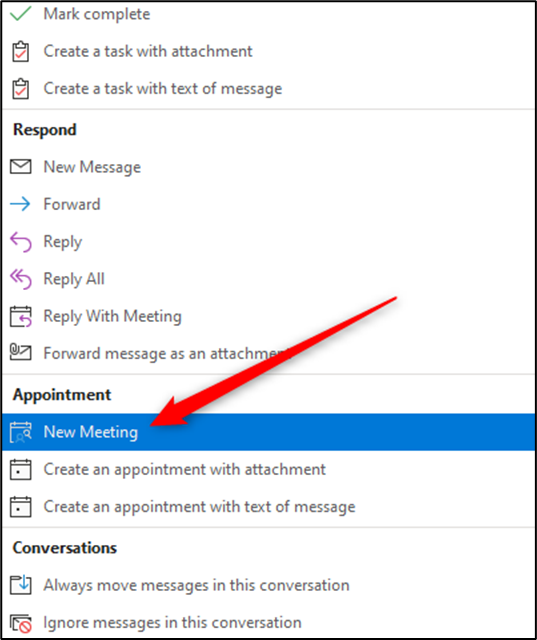
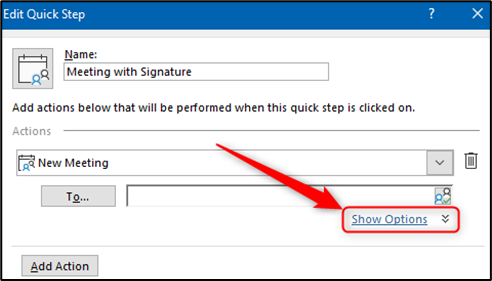
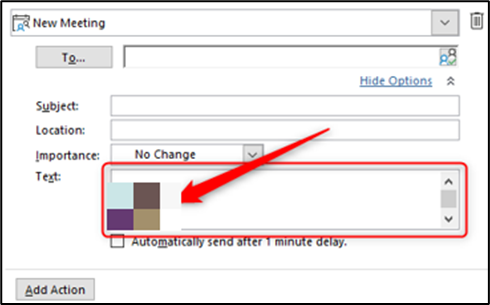
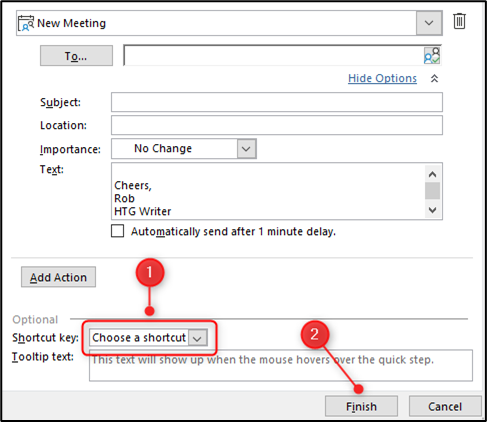
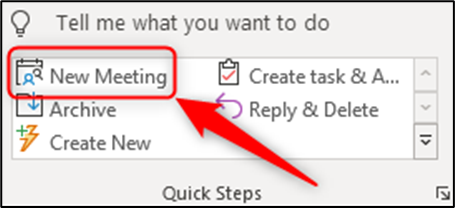
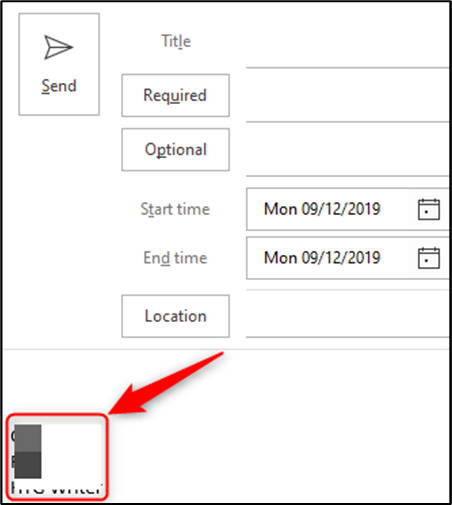
Both methods work, but you have to remember to use them, and they’re a bit manual for our liking. You can create a custom form in Outlook that creates a meeting request with a signature, but more clicks are required to open a custom form than to use Insert > Signature. As such, that’s not really an improvement. Instead, we recommend creating a Quick Step that opens a new meeting request with a signature already added. Not sure what a Quick Step is? We’ve written a comprehensive article about them to get you up to speed. But as a brief reminder, Quick Steps are a way of applying multiple actions in one click. This feature is great for automating jobs, and it’s really easy to set up and use. You can find Quick Steps in the middle of Outlook’s Home tab.To add a new Quick Step, click the “Create New” option in the Quick Steps box.This opens up a new window where you can name your Quick Step and choose the actions you want to perform.After you click the “Choose an Action” drop-down menu, scroll down to the “Appointment” section and click on “New Meeting.”Now, click the “Show Options” link.In the Text field, add your signature.Now choose a shortcut key, if you want one, and click “Finish.”That’s it-your Quick Step is complete. To open a new meeting request with your signature already added, either click the “New Meeting” Quick Step or use the shortcut key you chose.Your meeting request will open, with your signature already added.