Don’t like the current screen saver on your PC? If so, you can quickly and easily switch to one of the other available screen savers on your Windows 10 or Windows 11 PC. We’ll show you how to do just that.
Switch to a Different Screen Saver on Windows
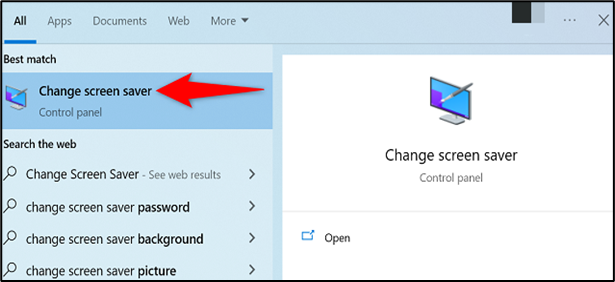
To start the screen saver, change process, open your “Start” menu, search for “Change Screen Saver”, and select that option in the search results.
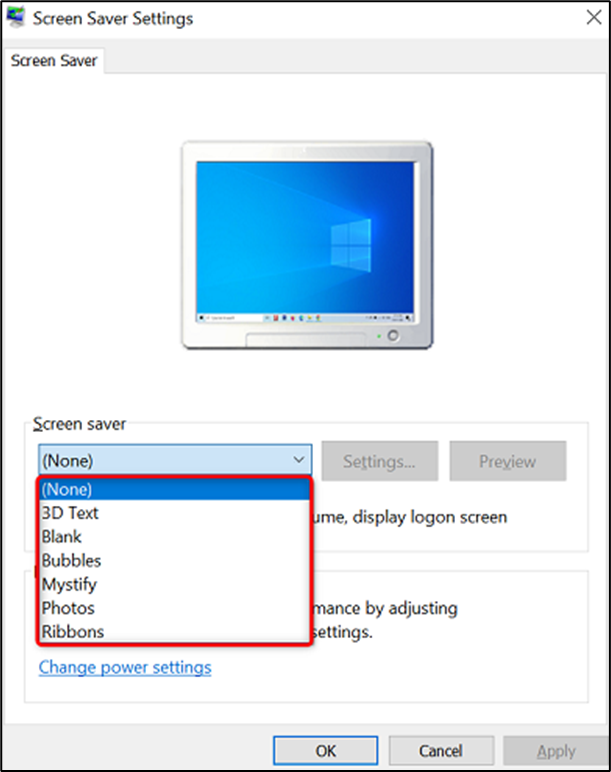
Note: To disable the screen saver completely, choose this option.
3D Text: To have your custom text with custom formatting displayed in three-dimension, select this option.
Blank: This option displays a blank black screen.
Bubbles: You’ll see bubbles on your screen with this screen-saver option.
Mystify: To use curved moving lines as your screen saver, choose this option.
Photos: Select this option to display a slideshow of your photos in your screen saver.
Ribbons: This option displays ribbons of various colors.
For example, if you’ve chosen “3D Text” as your screen saver, then in settings, you can define your text and its formatting.
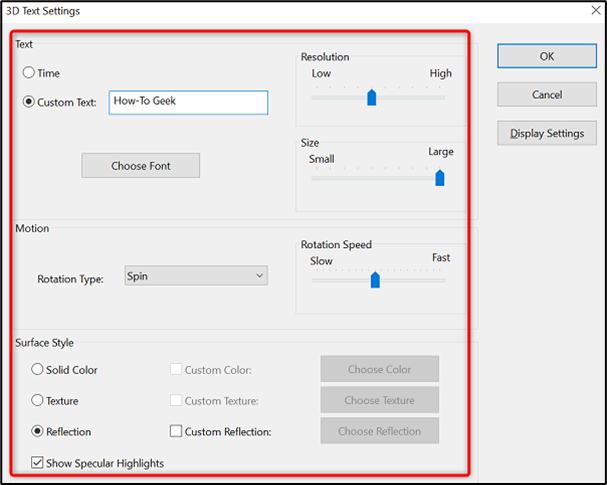
When you’re done, set the selected screen saver as the default by clicking “Apply” and then “OK.”
