RAM is a pivotal component within a PC or laptop, and precise RAM specifications can prove invaluable in various scenarios. For instance, when troubleshooting issues on a Windows PC, a technician may request RAM details for diagnostic purposes.
Furthermore, understanding the RAM specifications of your existing PC can aid in planning future PC builds. Regardless of the rationale, Windows 11 offers several methods to access and verify RAM information.
Check RAM information via Settings
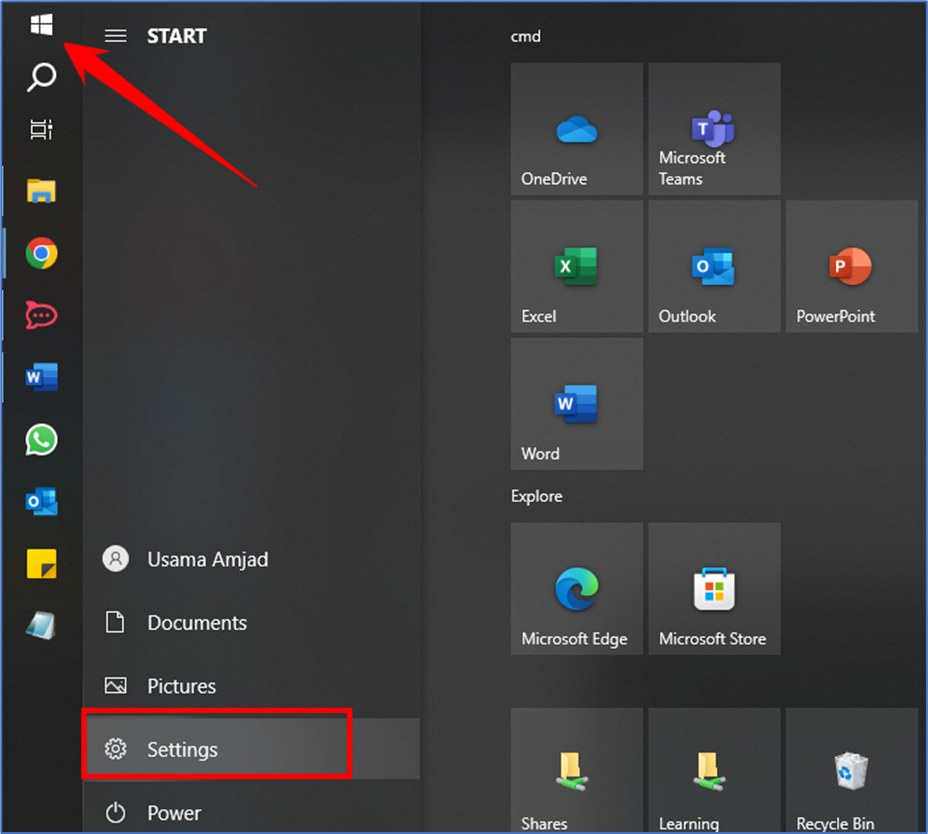
- First, click the Windows 11 Start button and select Settings.
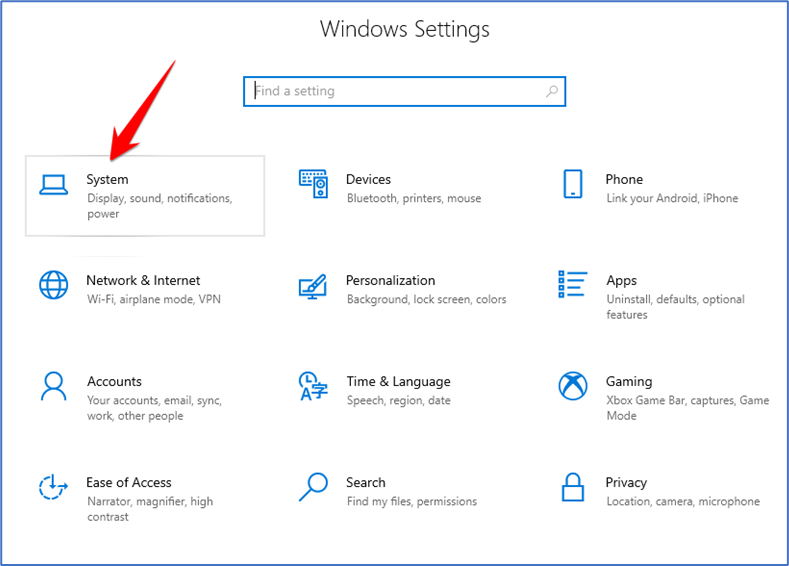
- On the Settings app, click the System option on the left pane.
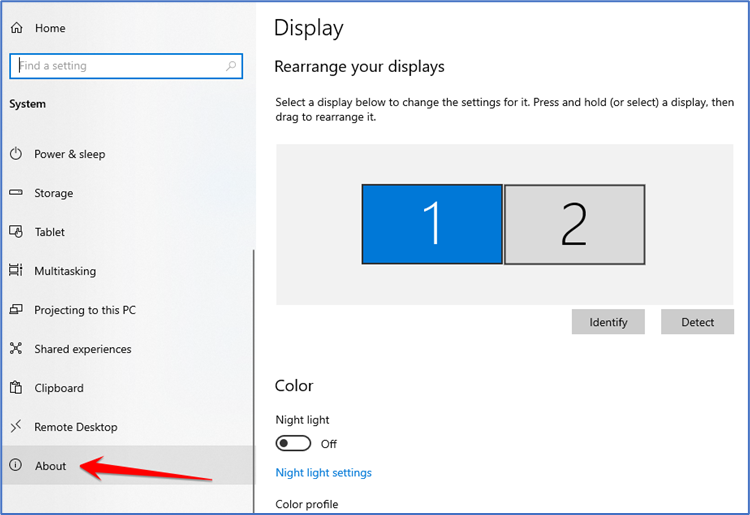
- On the right pane, scroll down and click on About.
- Next, expand the Device specification and check the Installed RAM. This will show you the amount of RAM installed on your PC.
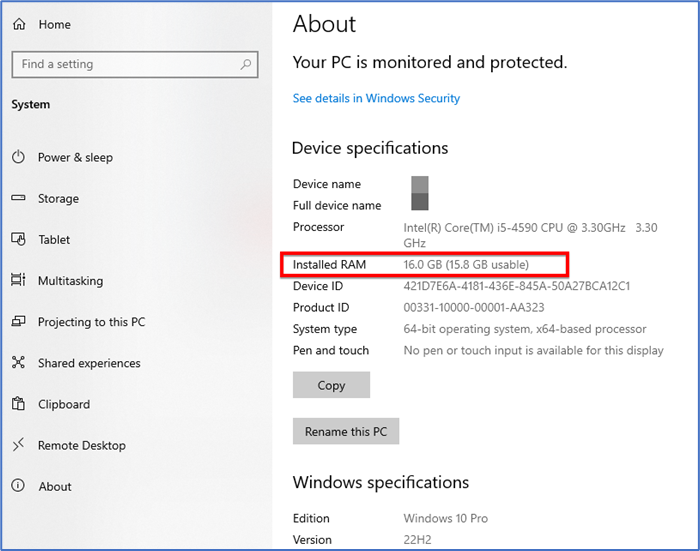
That’s it! You are done. This is how you can check the amount of RAM installed on your PC on Windows 10.
Check RAM speed on Windows 10
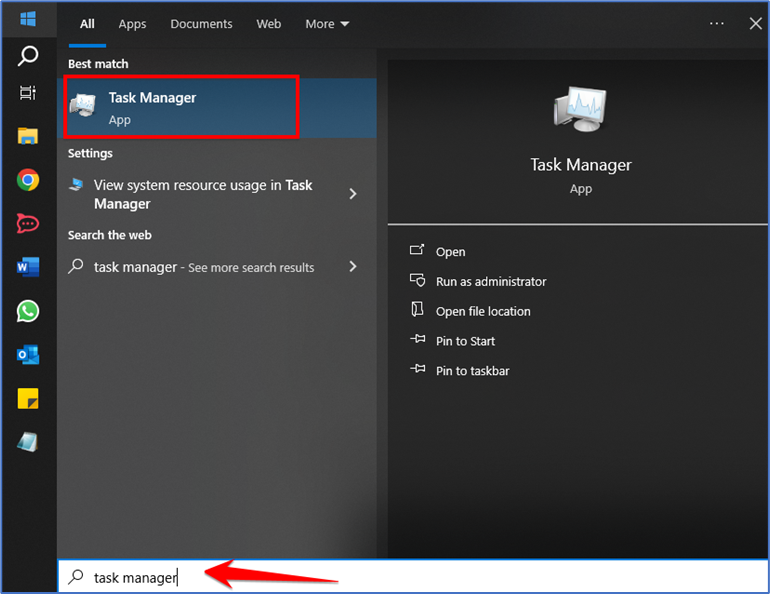
- First, click on the Windows 10 Search and type in Task Manager.
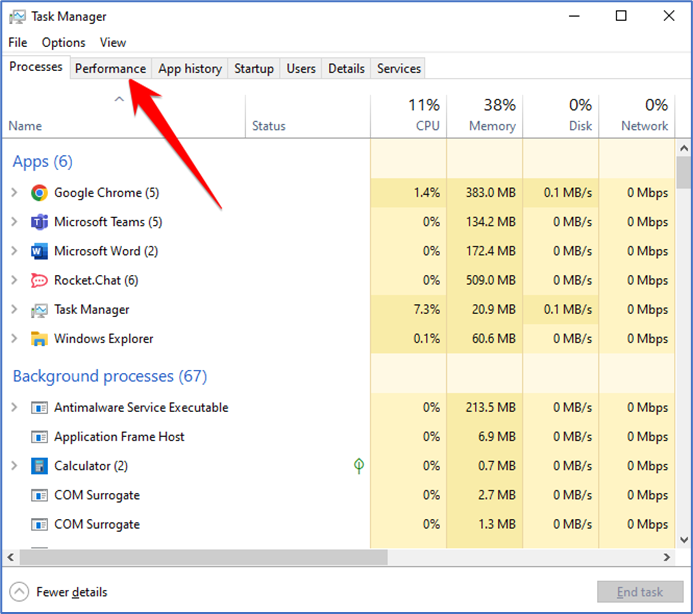
- On the Task Manager, switch to the Performance tab, as shown below.
- On the Performance tab, select Memory.
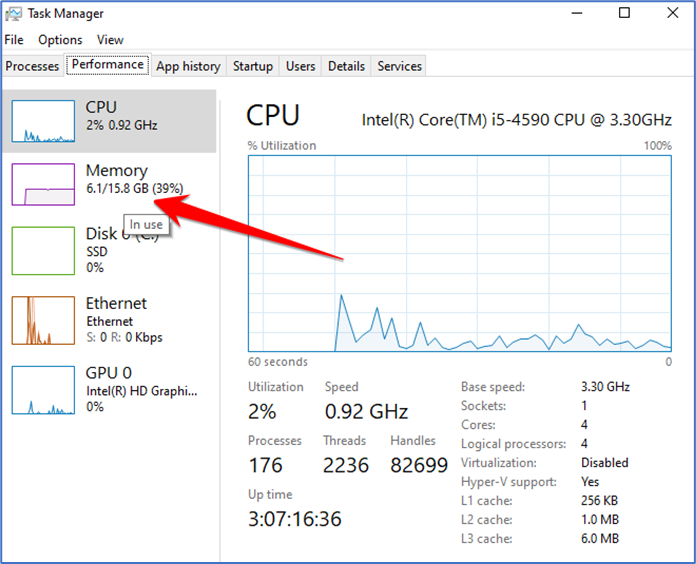
- On the right pane, you will see the memory speed, the number of slots used, and other details.

That’s it! You are done. This is how you can check the RAM speed via Task Manager on Windows 10.
Check RAM Information via PowerShell
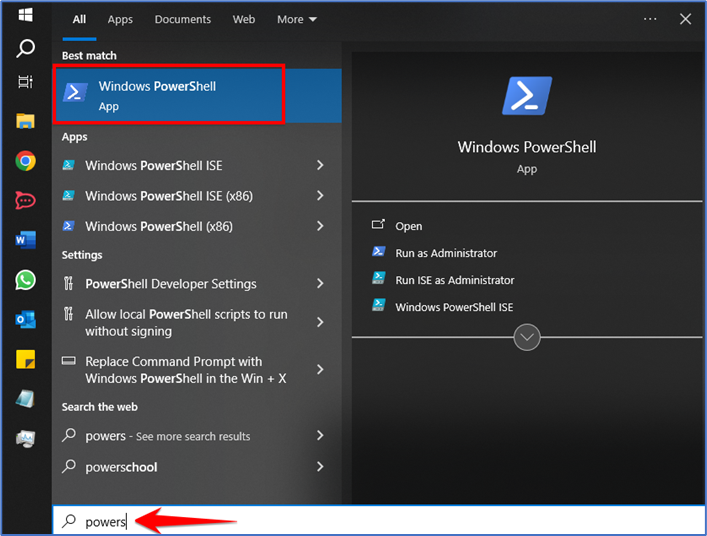
- Click the Windows 10 search and type in PowerShell.
On the PowerShell, execute the command:
“systeminfo”
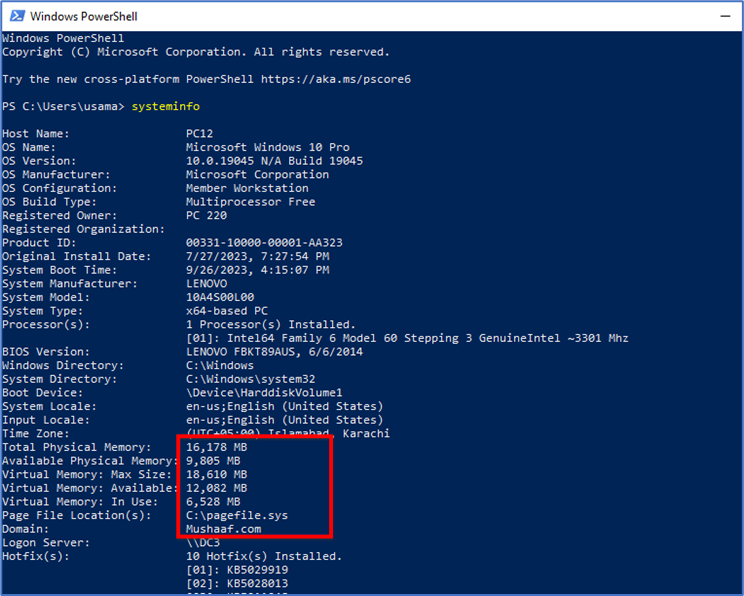
It also shows other information such as available RAM, Virtual memory, etc.
That’s it! You are done.
Check RAM information on Windows 10 via System Information
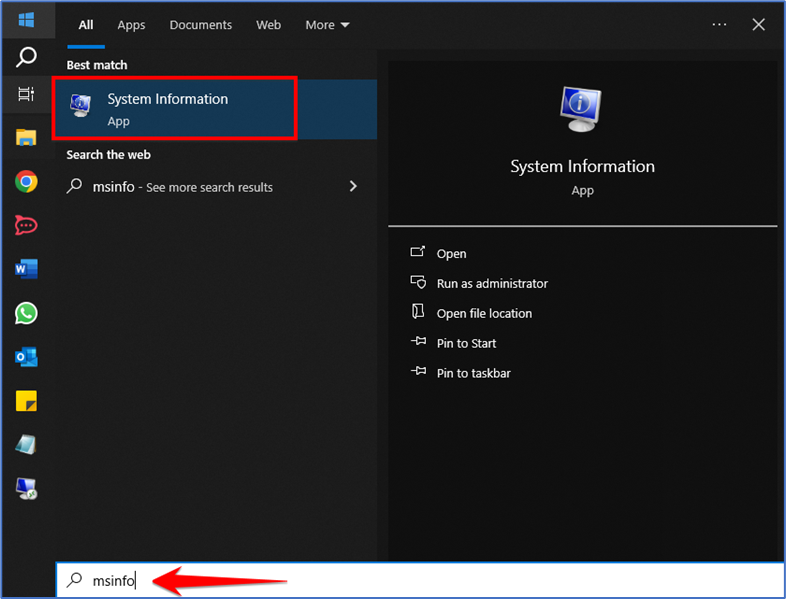
- First, open Windows 10 search, type in msinfo, and hit Enter. From the list of options, click on the System Information app.
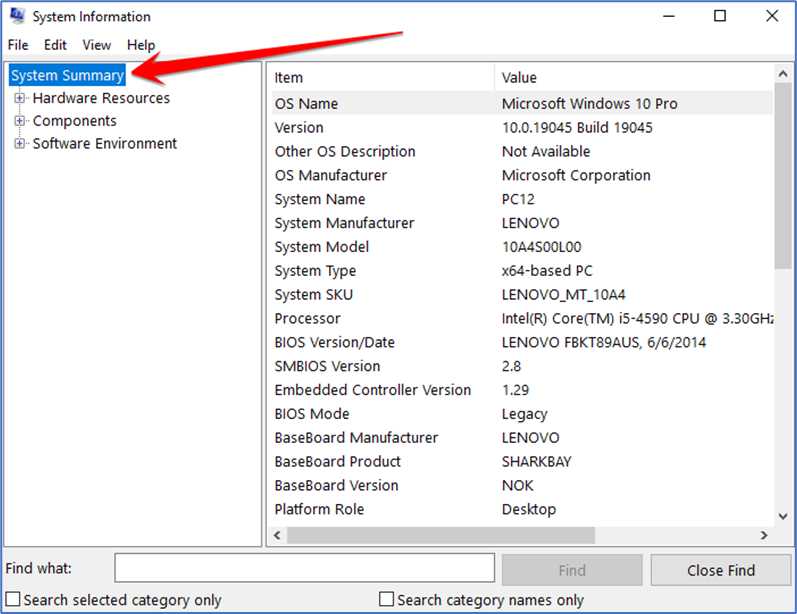
- This will open the System Information app on your Windows 10 PC. Select the system summary section as shown below.
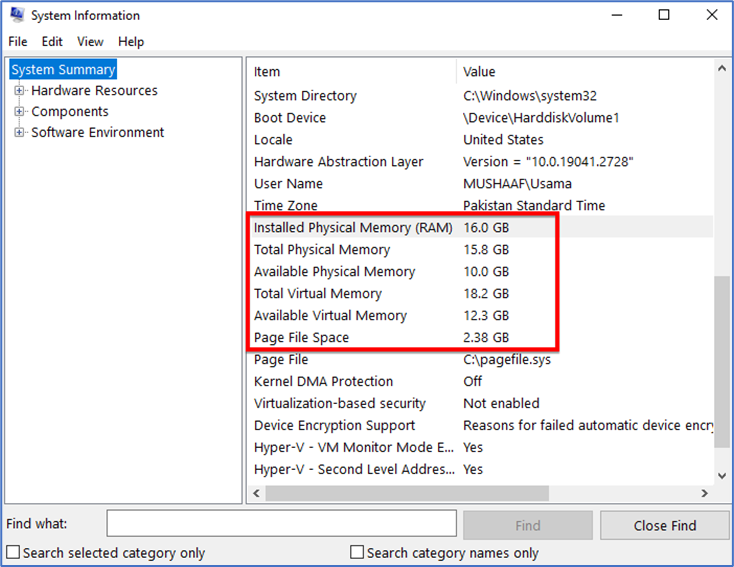
- Check the Installed Physical Memory and Total Physical Memory option on the right pane. This will list the total amount of RAM installed on your system.
Check RAM Information using DirectX Diagnostic Tool
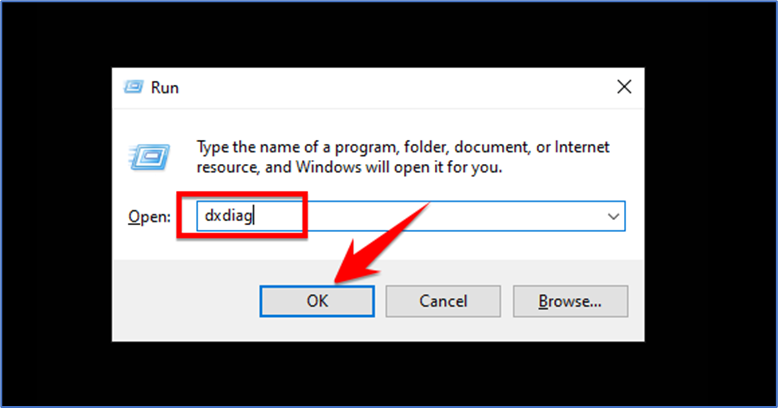
- Press the Windows Key + R button on your keyboard. This will open the RUN dialog box.

- Now type dxdiag on the RUN dialog box and press Enter.
- The DirectX Diagnostic Tool will open. Switch to the System tab and check the System Information section. Check the Memory information to find your installed RAM.
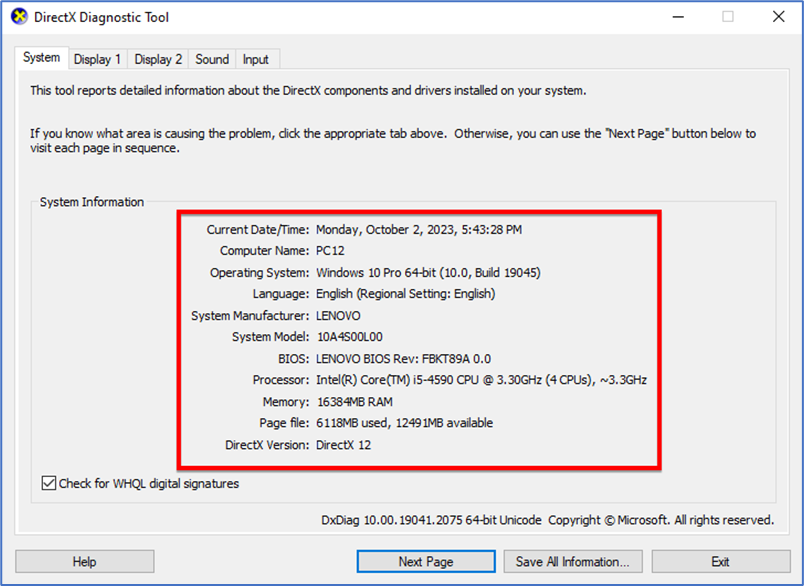
That’s it! You can also review the DirectX Diagnostic tool for relevant information.
These are the few best ways to check RAM information on Windows 10 and they help you a lot.