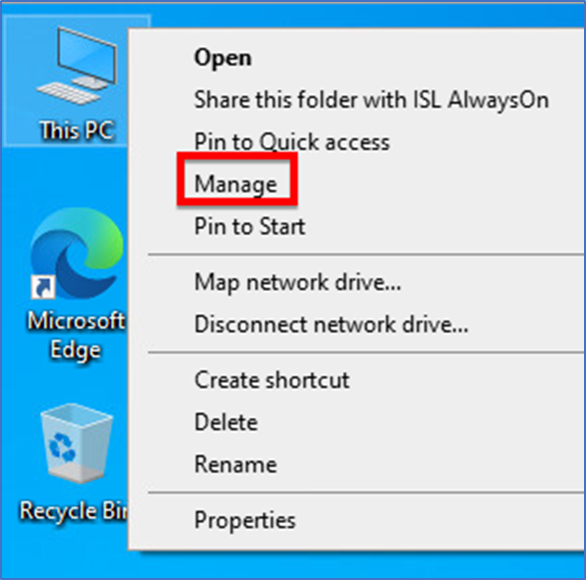
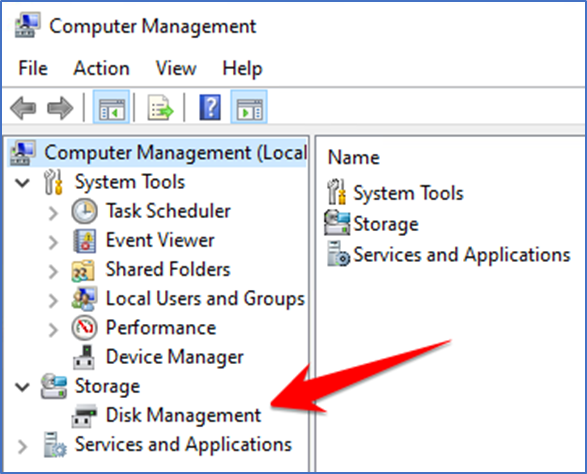
Right click on This PC and go to “Navigate”
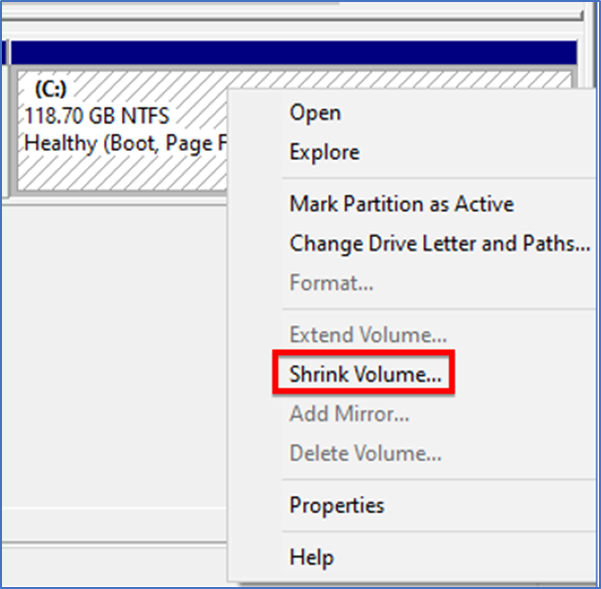
Click on “Shrink Volume”
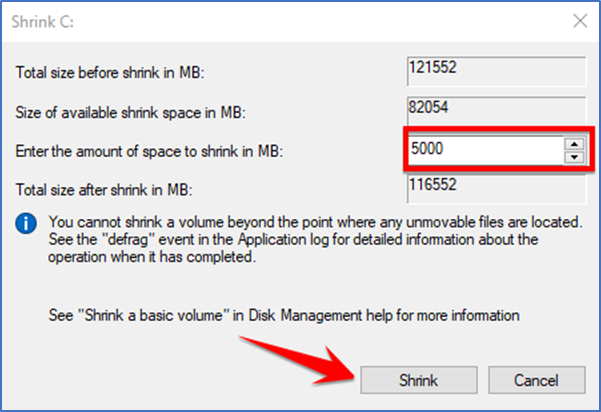
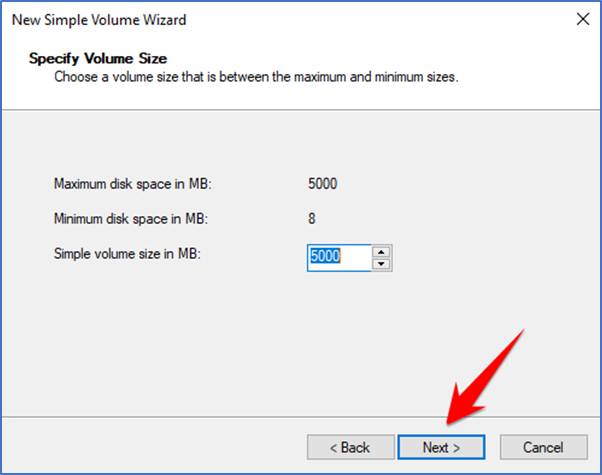
Specify the amount of space you want to give to the new drive
Click on “Shrink Button”
New space will be shown as unallocated space
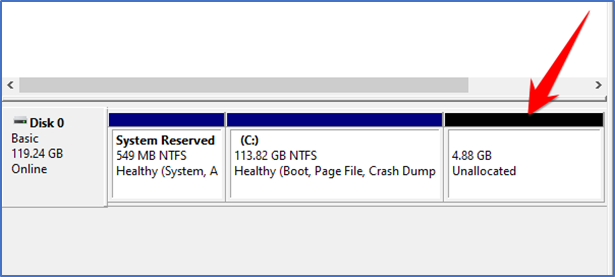
Right click on unallocated space
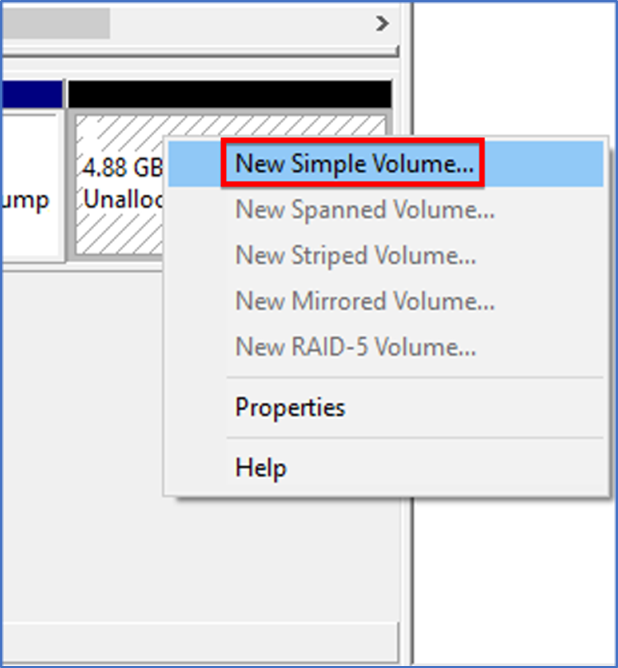
Click on “New simple Volume”
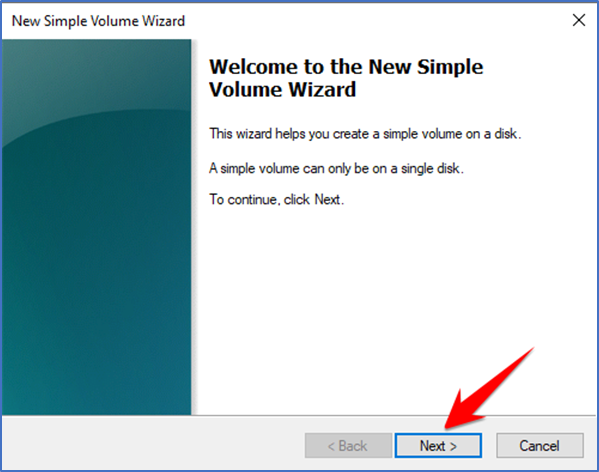
Click on “Next Button”
Click on “Next Button”
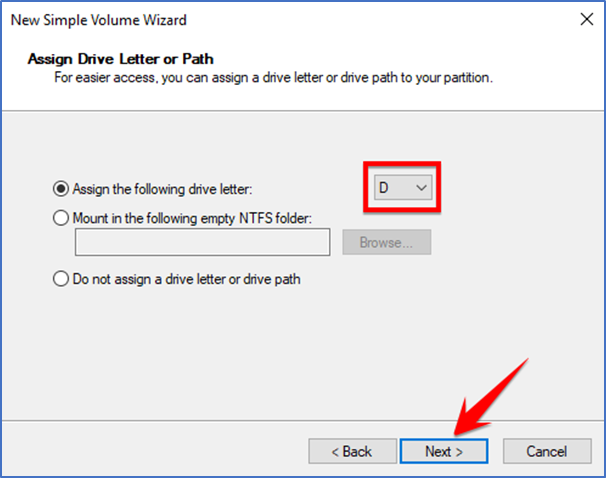
Assign the new Drive a Letter as shown in the picture
Click on “Next Button”
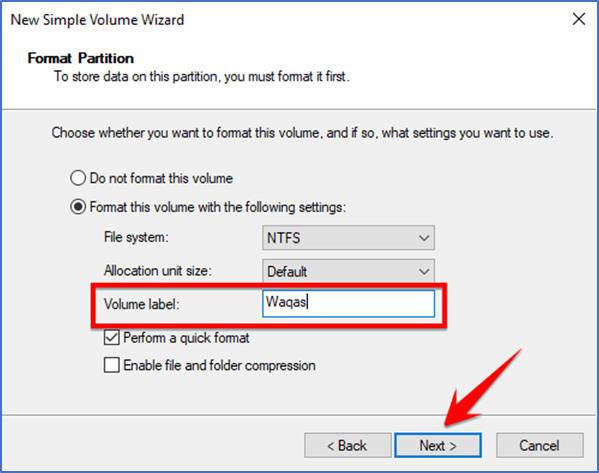
Give you desired Volume a Label and click “Next Button”
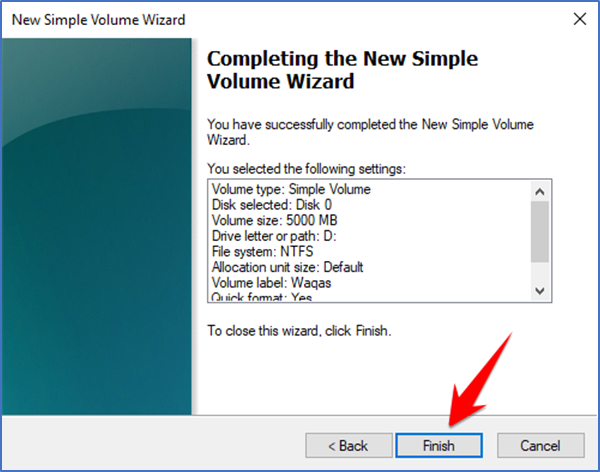
Click on “Finish Button”
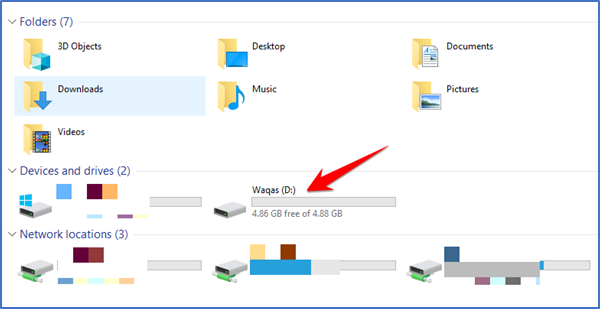
Open “This PC” and you will see your new Drive