On Windows 10, a system image backup is a legacy tool that allows you to create a “full backup” to a USB drive. In other words, a full backup is a copy of the entire system drive and secondary drives (if applicable), including the Windows installation files, applications, settings, and files.
It’s always essential to have a backup of your computer as it could help you recover from any system failure, errors, or malware. In addition, since updates are mandatory on Windows 10, it means that if there is an issue where the computer won’t boot because of a buggy driver or update, you’ll need a recovery mechanism to fix the problem as quickly as possible.
In this guide, you will learn the steps to create a full backup of your computer using “System Image Backup” on Windows 10 and how to recover individual files as needed.
Create a backup to USB on Windows 10
- Open Settings on Windows 10.
- Click on Update & Security.
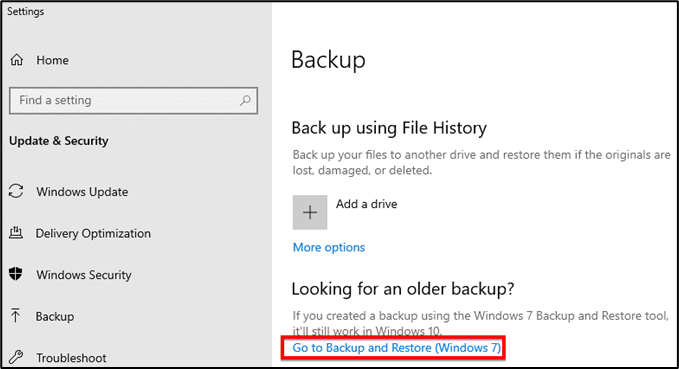
- Click on Backup.
- Under the “Looking for an older backup” section, click the Go to Backup and Restore (Windows 7) option.
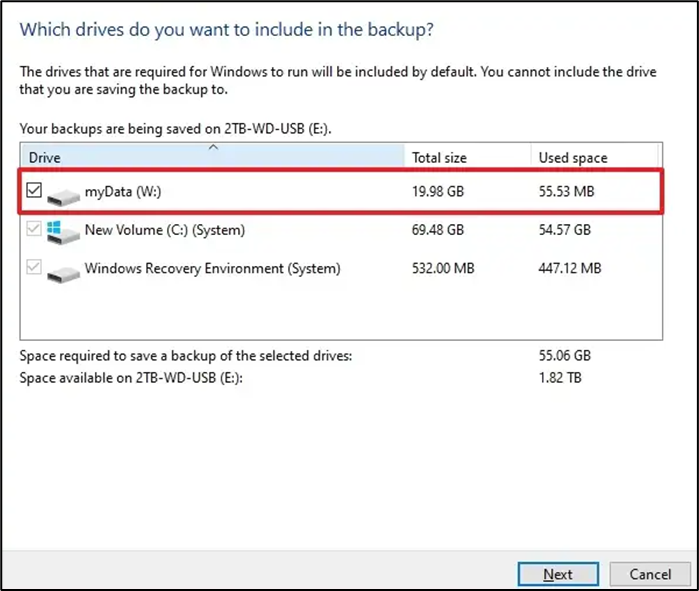
8. Select any other drive you want to include in the Windows 10 full backup (if applicable).
10. Click the Start backup button.
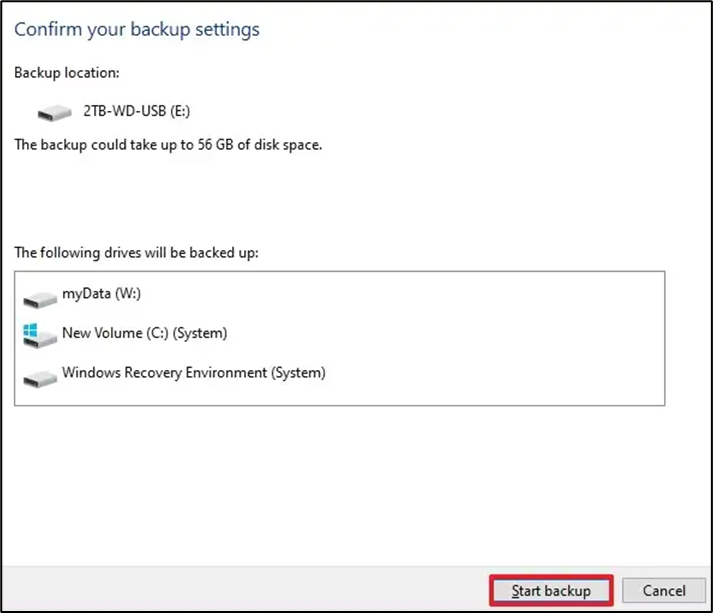
Once you complete the steps, the backup will be created on the external USB drive. You will also be protected to “create a system image repair disc.” However, you can skip this option since you can use the Windows 10 bootable media to access the recovery environment.
Restore files from backup on Windows 10
The system image backup is meant to restore the entire system, not individual files. However, you can still open the image to recover individual files.
1. Open Start.
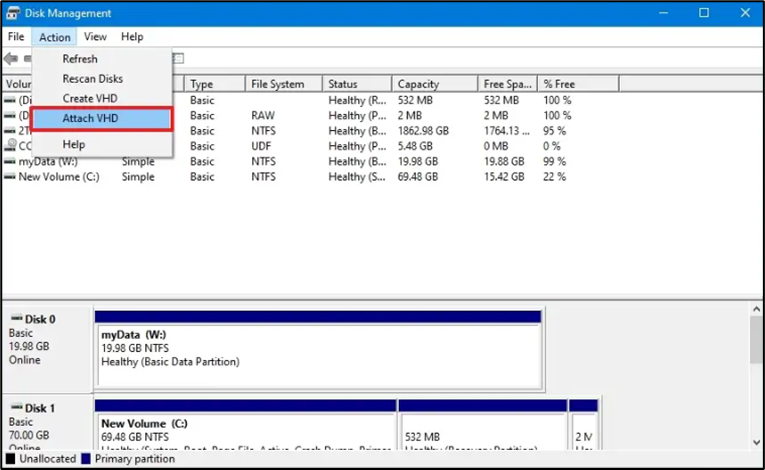
2. Search for Create and format hard disk partitions and select the top result to open the Disk Management app.
3. Click on Action and select the Attach VHD option.
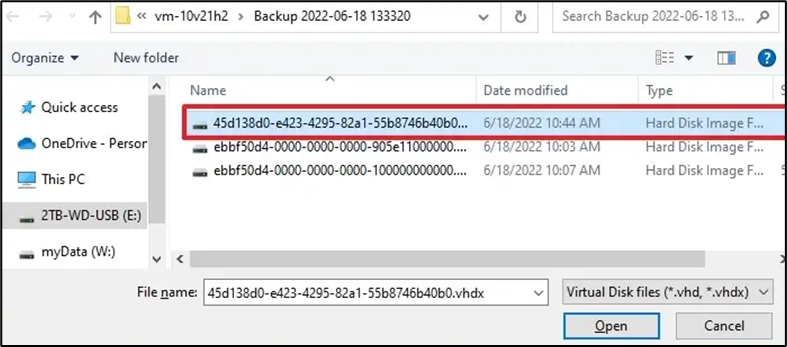
5. Browse inside the WindowsImageBackup folder that contains the backup files.
6. Double-click the folder with the computer name.
7. Double-click the Backup xx xx-xx-xx xxxxxx folders.
8. Double-click the largest VHDX file to mount the image in File Explorer.
10. Click the OK button.
11. Right-click the volume on the mounted drive (blue icon) and select the Change Drive Letter and Paths option.
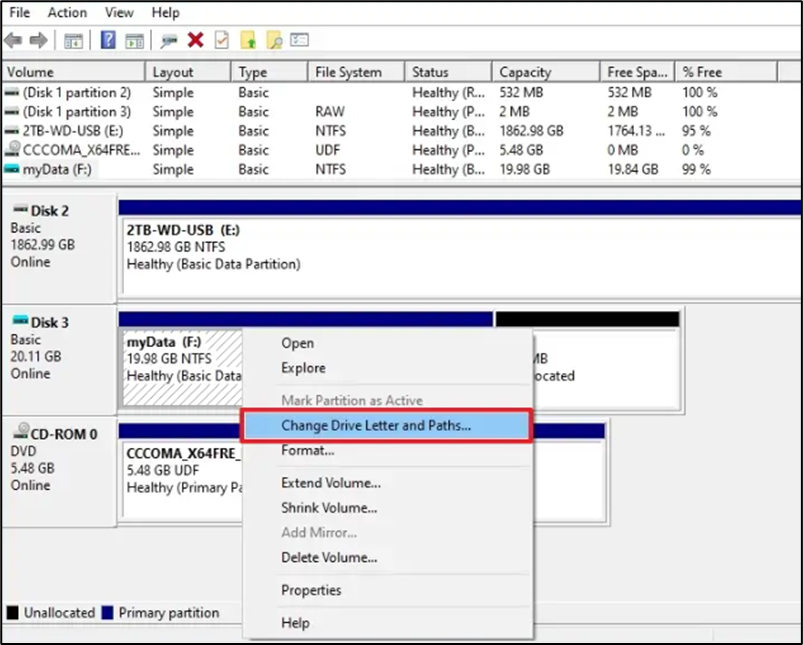
13. Select a drive letter.
14. Click the OK button.
15. Open File Explorer.
16. Click on This PC.
17. Open the mounted drive and browse the location of the files you want to recover.
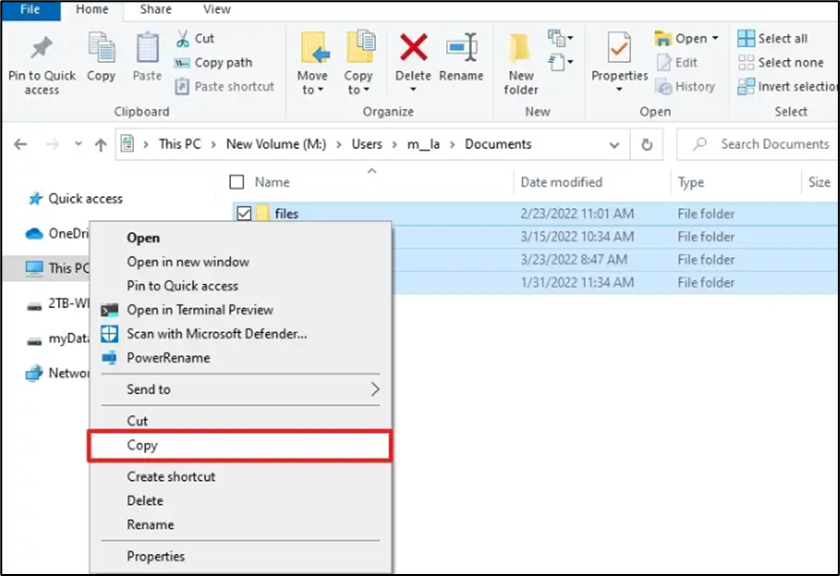
18. Select and copy the files.
Once you complete the file restoration, right-click the drive and select the Detach VHD option and the OK button to detach the backup drive.