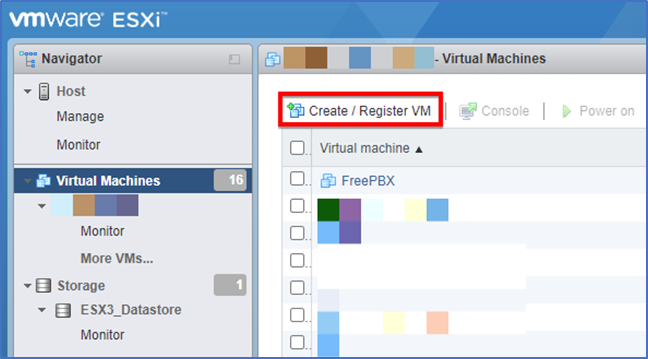
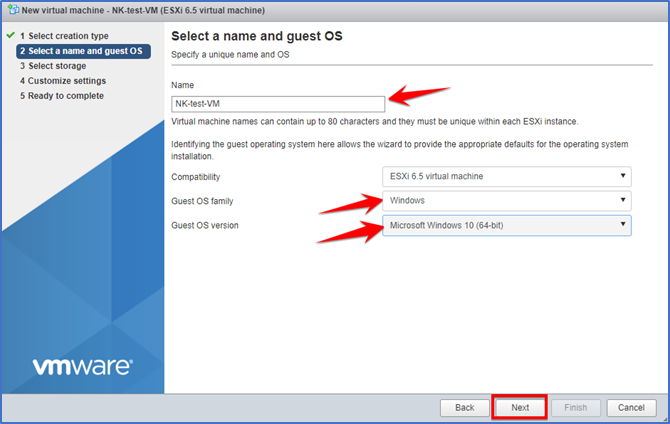
Click on the “Create/Register” VM button.

Then below window will pop up and we need to select first option “Create a new Virtual machine” then hit next
Enter the name of your VM then keep the compatibility as it is. From “Guest OS family” field pick the Windows option and required OS version then hit next.
From storage section, select the datastore and if you have one then just hit next.
Enter your required CPU, RAM and Hard Disk value then expand the Hard disk section and select thin or thick provision according to your requirement.
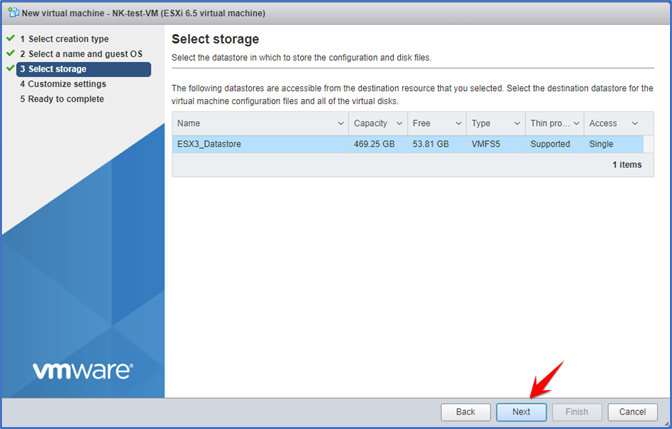
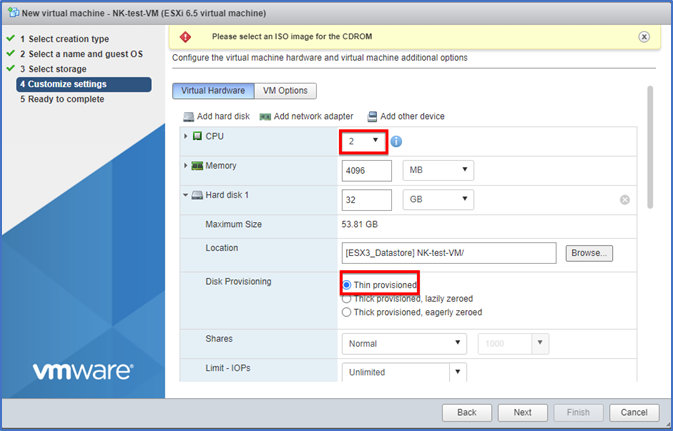
1. Thin provisioning helps to avoid wasted physical capacity and can save businesses on up-front storage costs.
2. Eager zeroed thick-provisioned disks are the best for performance and security, but require enough free storage space and take a lot of time to be created.
3. Lazy zeroed thick-provision disks are good for their short creation times, but they do not provide as much speed
From the same window as above select the ISO file from the host device or if you have USB or CD/DVD then pick that option
If you are creating windows 10 VM then select windows 10 latest version and hit the select button.
If your iso file is selected then hit next
Review your settings and hit finish.
VM is created Successfully. Now, select your VM and Click on power on button.

Leave a Reply

Your email address will not be published.