Microsoft dictation software is a useful way to write a quick text in windows 10 using the Windows+h keyboard shortcut. But sometimes it may not be enabled by default on the system, so here I will tell you how to enable it from the settings.
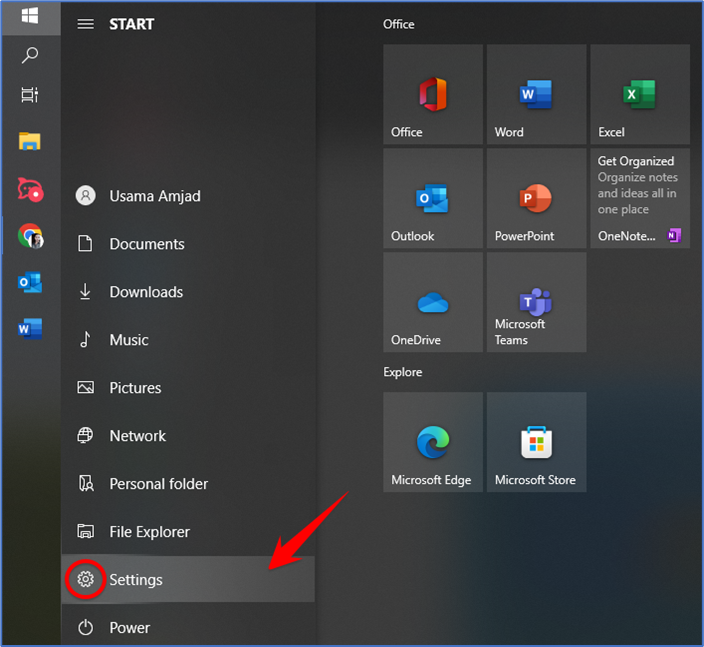
Click on the windows start button and then click on the gear button known as the setting. You can also get there by pressing windows+I on your keyboard.
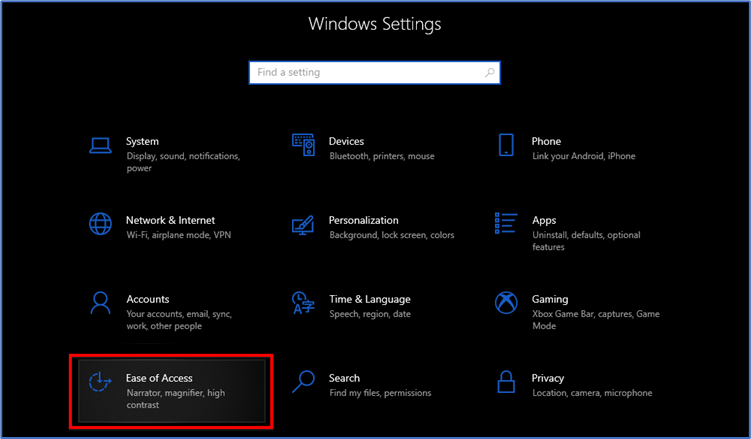
In the settings. Click on the “Ease of Access” button.
Now on the left panel, scroll down and click “speech” in the sidebar. In the speech setting, click on the switch located below “Turn on speech Recognition”. It should switch over to the “on” position.
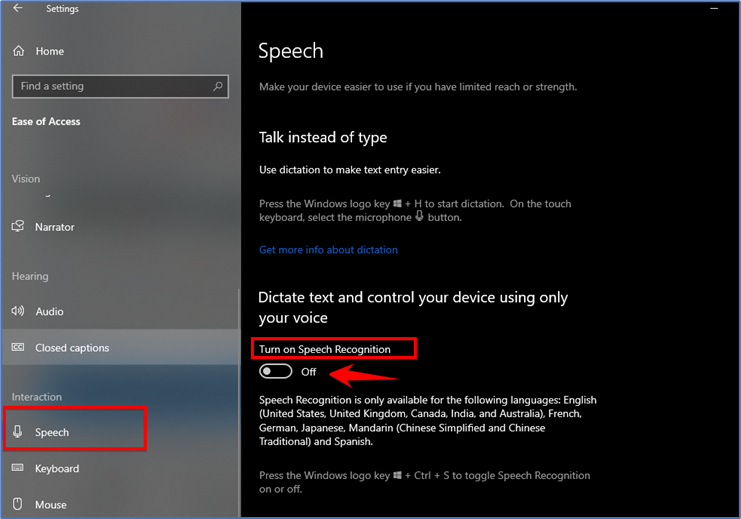
The important note is speed recognition is only in a few languages including English, French, German, Spanish, Mandarin, and Japanese. To perform this action quickly, hit Windows+Ctrl+s to toggle speech recognition on or off instantly.
When you toggle it the first time you need to set up it up to recognize your voice.
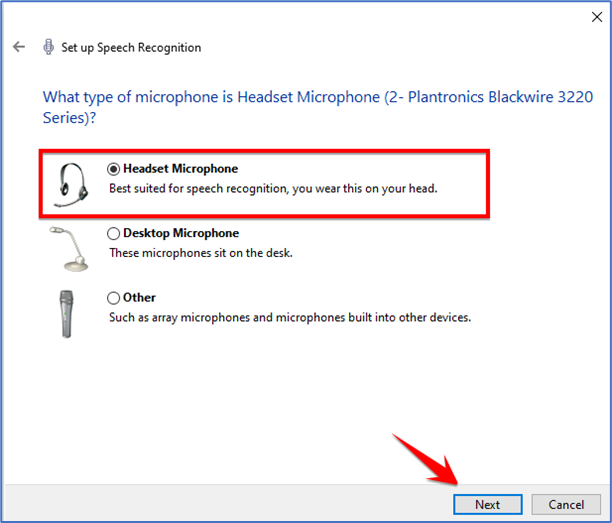
To perform the initial steps, hook up either the headset microphone, desktop microphone, or other mics. Then follow the onscreen prompt to choose and set up your microphone. I am using a headset mic so I can choose the headset option.
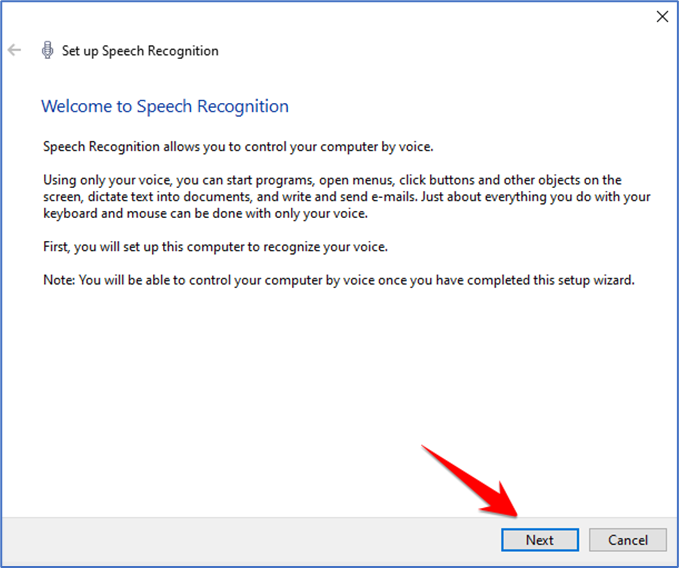
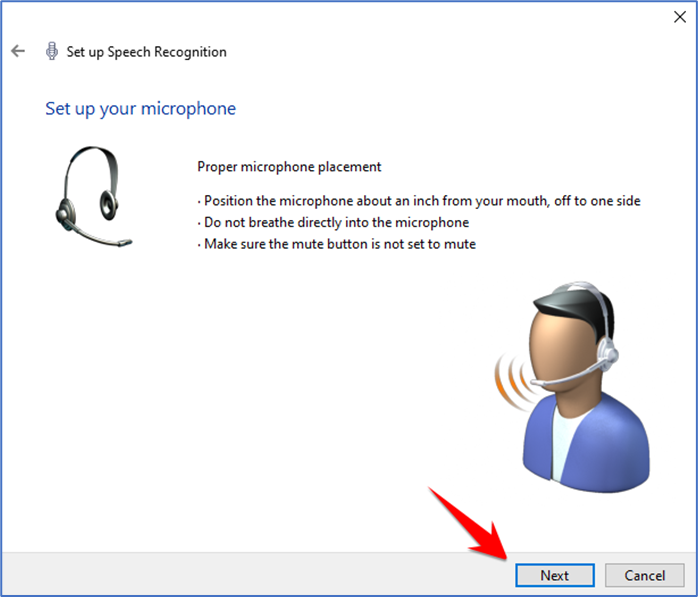
Follow some of the instructions given and then click on the next button.
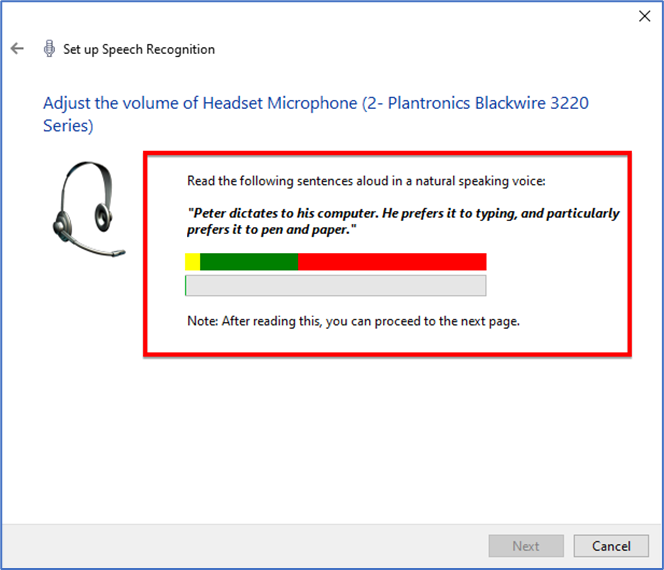
Once the headset is connected, say the screen phrase into your microphone, so the system will capture your voice and be able to the recognition it while using the program.
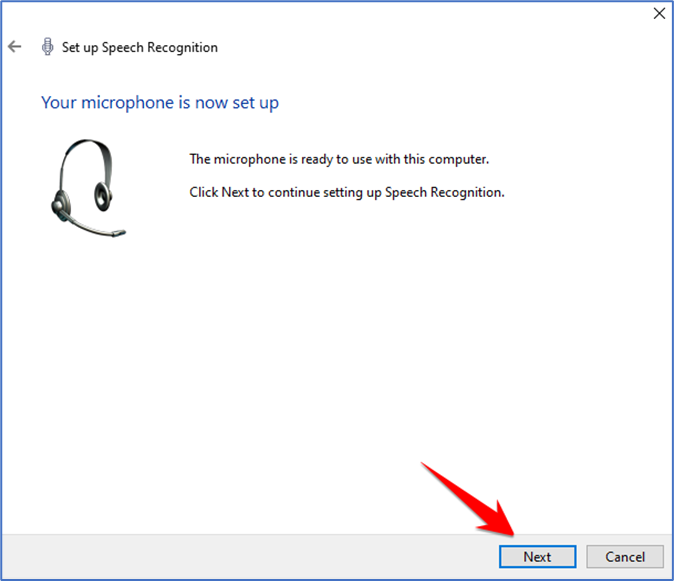
On the next page, you can see your microphone is ready to use then click on next.
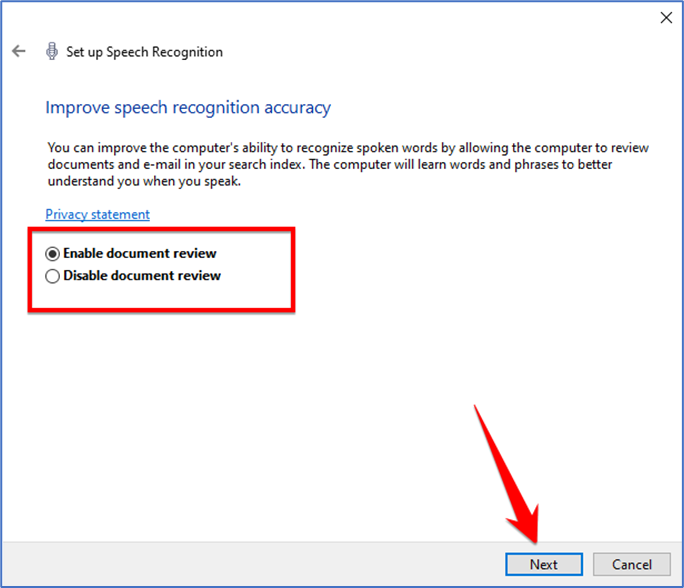
Finish up by selecting whether or not you want to allow the computer to review documents and email to help it improve speech recognition accuracy.
Once the setup is complete, you’re ready to begin typing with your voice!
That’s it!!!!