Before proceeding with the instructions, it’s important to be aware that the progressive ring animation can be found starting from Windows 11 build 22449 and subsequent versions. As a result, please only proceed with the provided steps if you are utilizing the most up-to-date iteration of Windows 11.
To activate the updated boot screen, adjustments need to be made to the Registry. It is strongly advised to generate a restore point or create a backup image of your system before proceeding with these steps.
- First, press the Windows Key + R button to open the Run Dialog box.
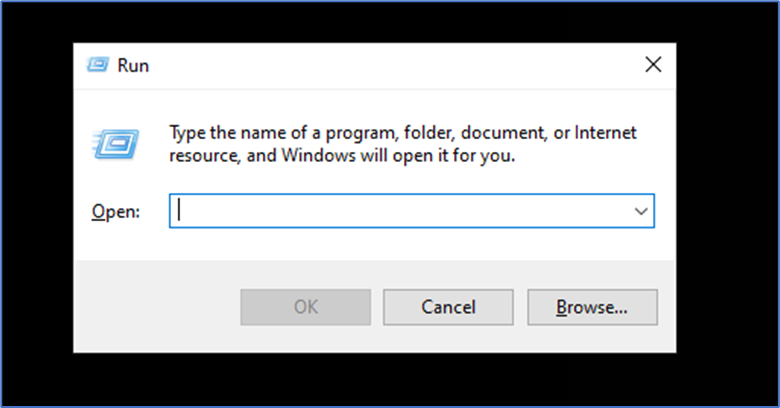
- Within the Run dialog box, input “regedit” and press the Enter key.
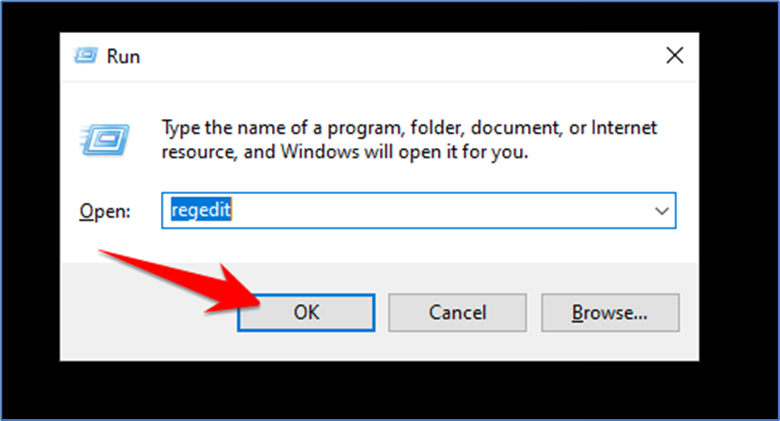
- Doing this will launch the Registry Editor on your Windows 11 system. You’ll then need to locate your way to the subsequent path: “HKEY_LOCAL_MACHINE\SYSTEM\ControlSet001\Control”.
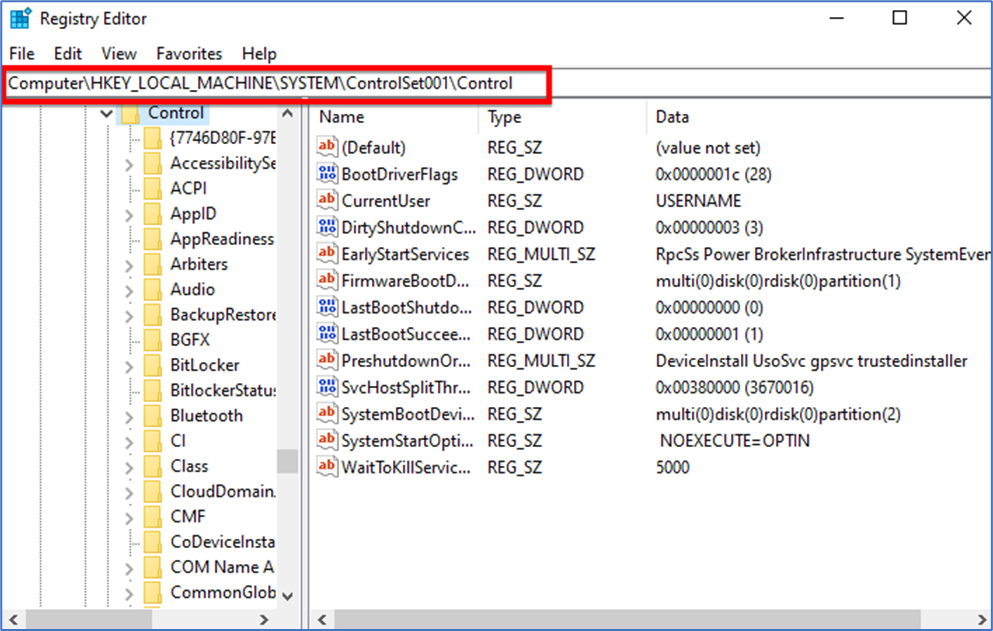
- Perform a right-click on the Control directory, then opt for New > Key.

- Assign the label “BootControl” to the newly created key.
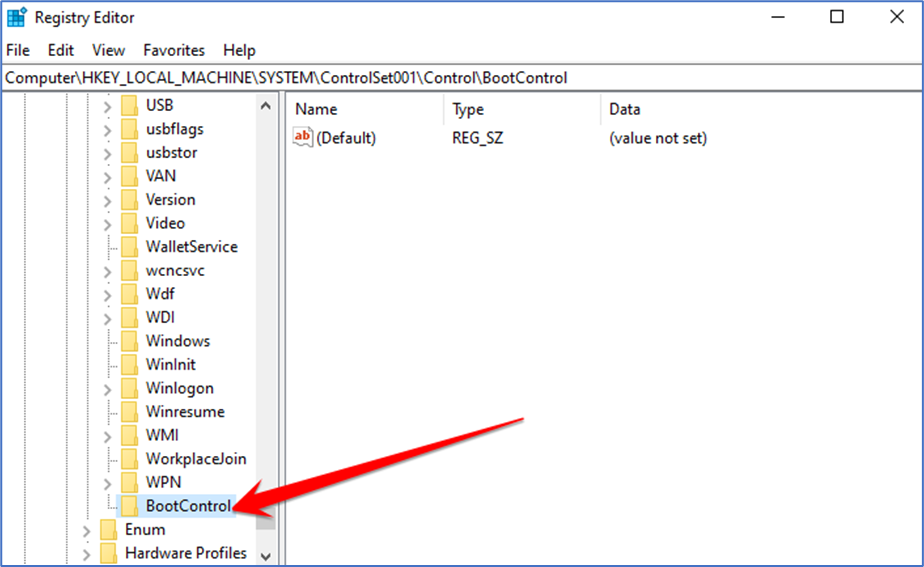
- After completing that, right-click on the BootControl directory and pick New > DWORD (32-bit) Value.
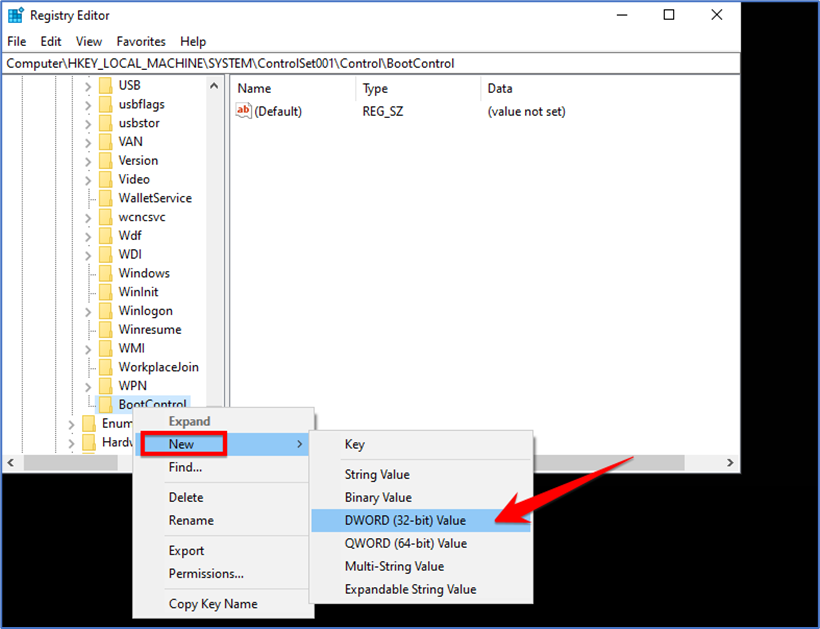
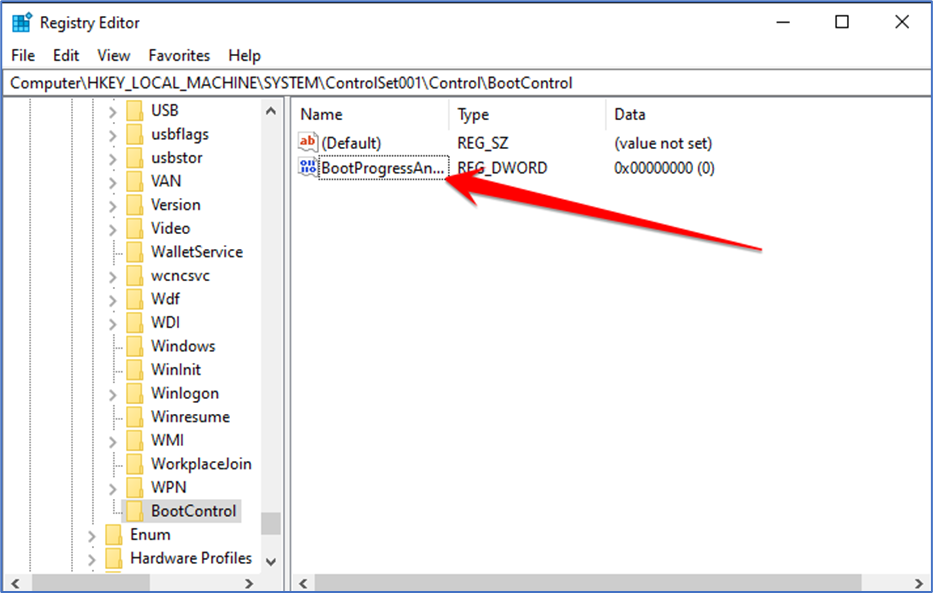
- Label the fresh DWORD key as “BootProgressAnimation.”
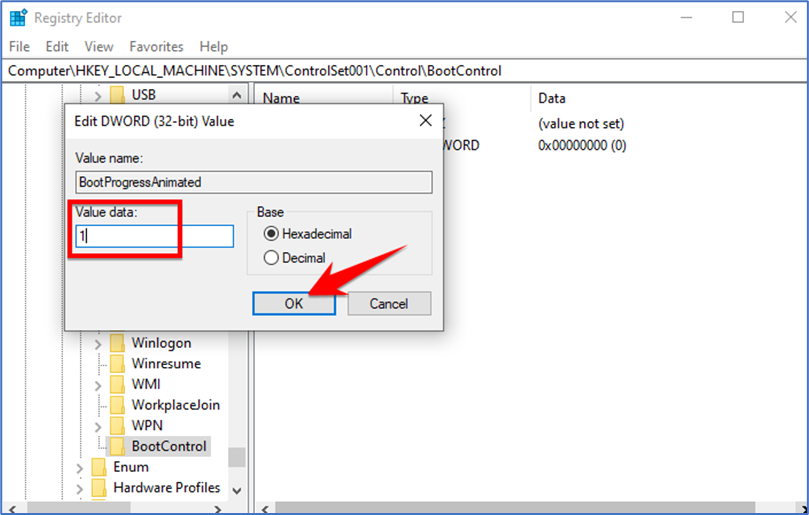
- Next, double-click on the BootProgressAnimation key. Within the value data field, input 1. Upon completing this, click the Ok button.
You’ve completed the process. After applying the modifications above, proceed to restart your Windows 11 computer. Upon rebooting, the updated boot screen animation will be visible on your Windows 11 system.