Do you want to schedule an email in Outlook to send it later?
Well, most of us want it. Mostly, we want to schedule our emails when we are not available to send at the desired time, or at a time when our recipient is more likely to open the message. Obviously, these increase the email open rate and response.
But scheduling email is tedious in Outlook due to its complex functionality. The users face difficulties when they must schedule an email to send later in Outlook.
In this article, we will be explaining a method for scheduling your emails in Outlook.
1. Open the Microsoft Outlook
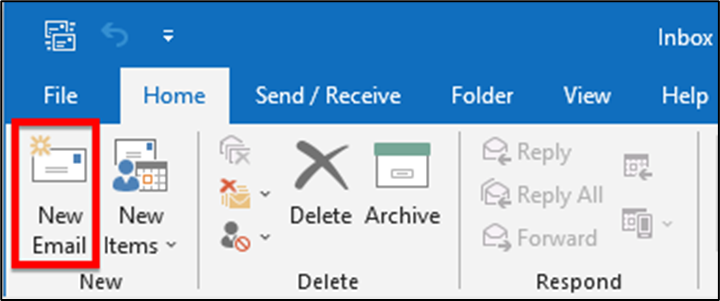
2. Click on the New Email button in the top left corner of your Outlook ribbon. It will open a new compose box window
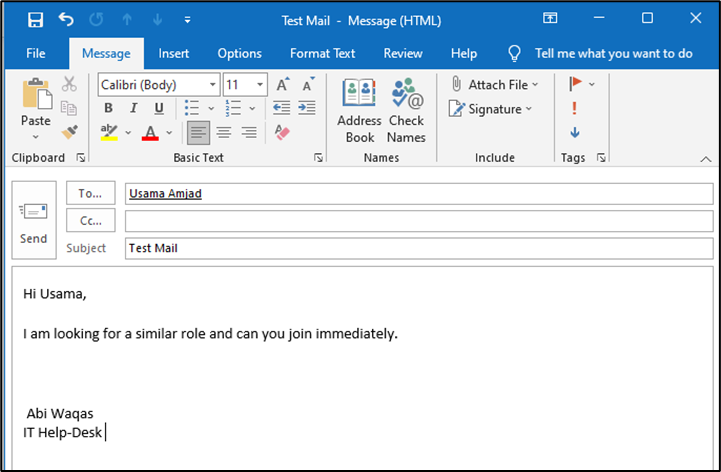
4. After adding the recipients, write an exciting subject line followed by your email message body.
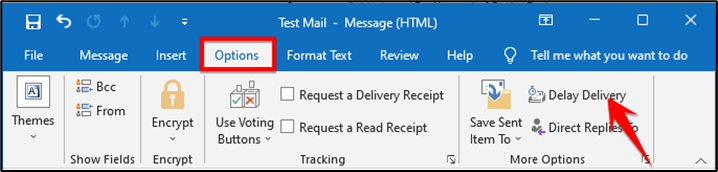
6. Click on Delay Delivery which will provide you with all the email scheduling functionalities
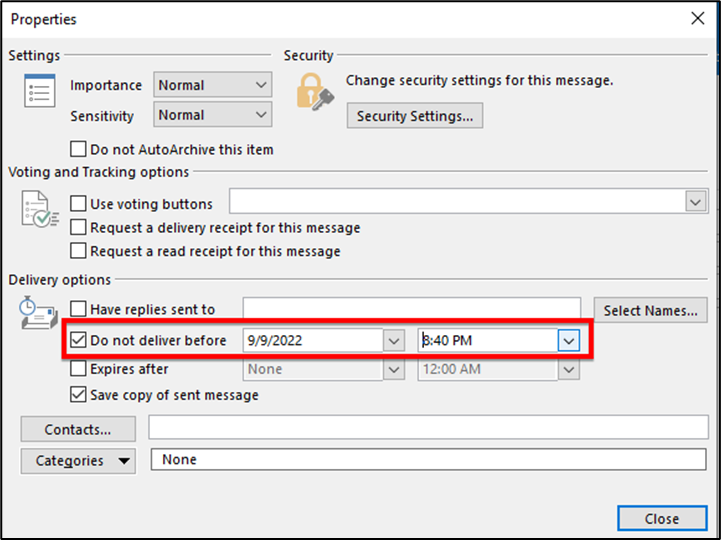
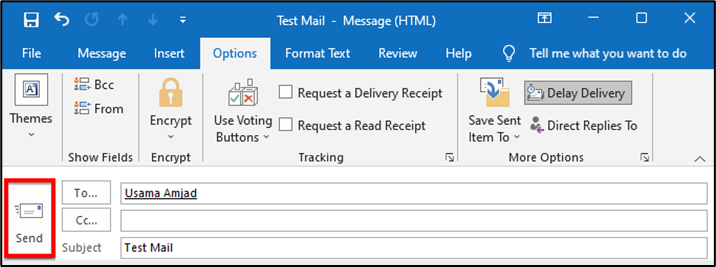
9. Click the Send button to schedule your message