Taking screenshots is an essential part of our digital lives, whether it’s for capturing funny memes, saving important information, or troubleshooting technical issues. Windows 10 offers various methods to capture screenshots, and one of the most convenient ways is using the “Snip & Sketch” tool. In this blog, we will guide you through the process of setting the Print Screen key to take screenshots using Snip & Sketch on Windows 10.
What is Snip & Sketch?
Snip & Sketch is a built-in screen capture tool in Windows 10 that allows you to capture, annotate, and share screenshots easily. It replaces the traditional Snipping Tool and brings enhanced functionality and features for capturing screenshots.
Step-by-Step Guide to Set Print Screen Key for Snip & Sketch
Before we proceed, ensure that your Windows 10 is updated to the latest version to have access to Snip & Sketch. If you don’t have it installed, you can get it from the Microsoft Store.
Follow these simple steps to set the Print Screen key for capturing screenshots using Snip & Sketch:
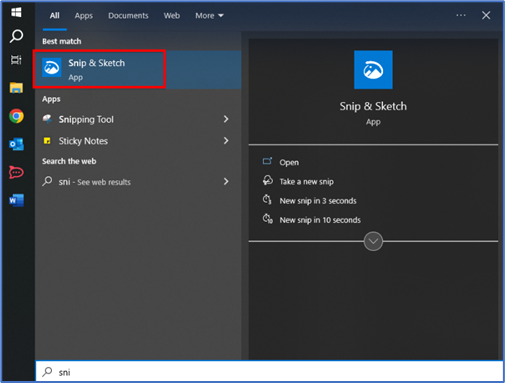
Step 1: Open Snip & Sketch
Click on the Start menu, type “Snip & Sketch” in the search bar, and click on the app from the results.
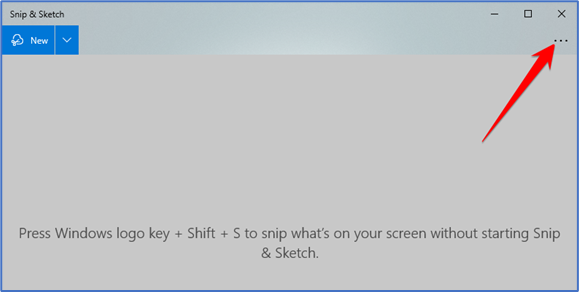
In the Snip & Sketch window, click on the hamburger menu (three horizontal lines) in the top-left corner.
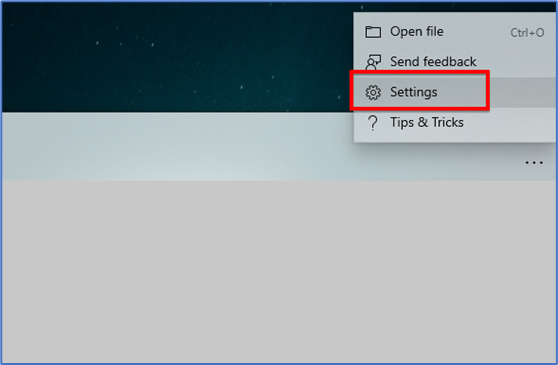
From the drop-down menu, click on “Settings.”
Step 4: Set Print Screen Key
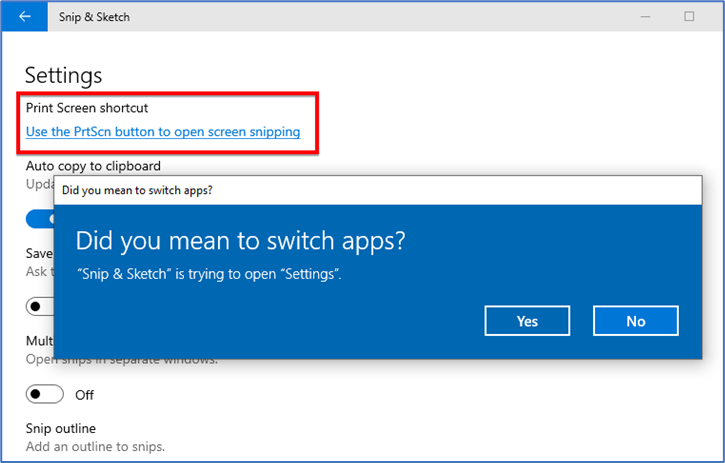
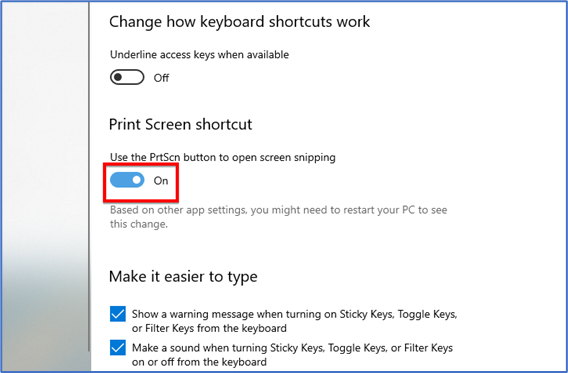
In the Settings menu, you’ll find an option called “Print Screen shortcut.” Toggle the switch to “On.”
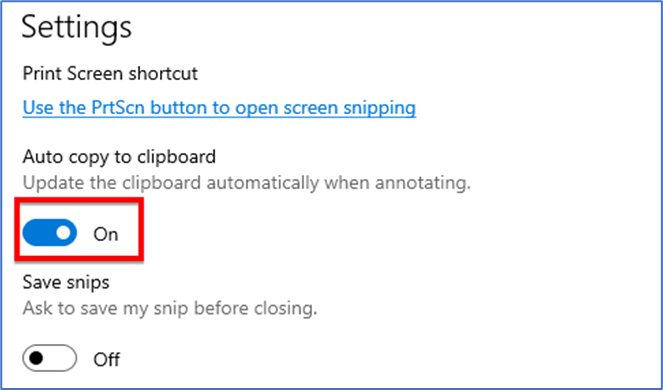
A confirmation prompt will appear, asking if you want to change the settings. Click on “Use the PrtScn button to open screen snipping.”
Step 6: Capture Screenshots
Now that you have set the Print Screen key for Snip & Sketch, you can use it to capture screenshots. Simply press the Print Screen (PrtScn) button on your keyboard. A small Snip & Sketch overlay will appear on your screen, allowing you to capture the desired area.
Step 7: Edit and Save
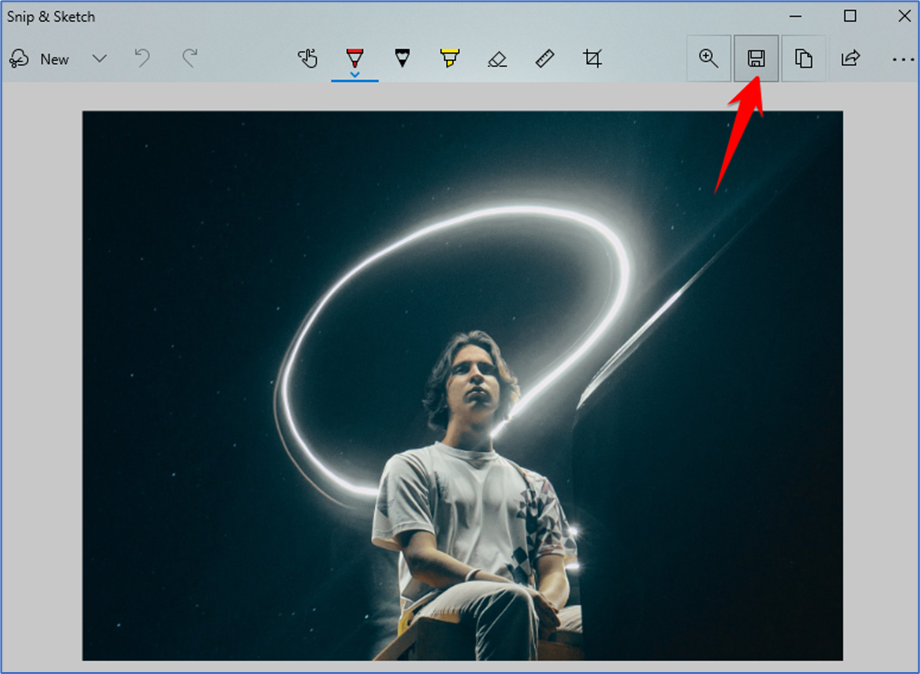
After capturing the screenshot, you can use the Snip & Sketch editor to annotate, draw, or crop the image. Once you’re satisfied, click on the floppy disk icon to save the screenshot to your preferred location.
Snip & Sketch Shortcut: Besides using the Print Screen key, you can also launch Snip & Sketch directly by pressing “Windows key + Shift + S.”
Clipboard Saving: By default, Snip & Sketch saves the captured screenshots to the clipboard, allowing you to paste them directly into other applications like Paint, Word, or an email.
Snip & Sketch Overlay: You can customize the Snip & Sketch overlay settings from the “Settings” menu to change the delay time or show the print screen overlay.