Windows 10 provides users with several backup options, including File History, the primary backup tool. The file history option of Windows allows you to restore previous versions of files.
Yes, Windows 10 allows uploading files to cloud storage via OneDrive, but it’s limited to only 5GB of free storage space.
So, if you want to enable and use Windows’ File History to back up your data, you are reading the right guide. This article will share a step-by-step guide on using Windows File History to back up your data.
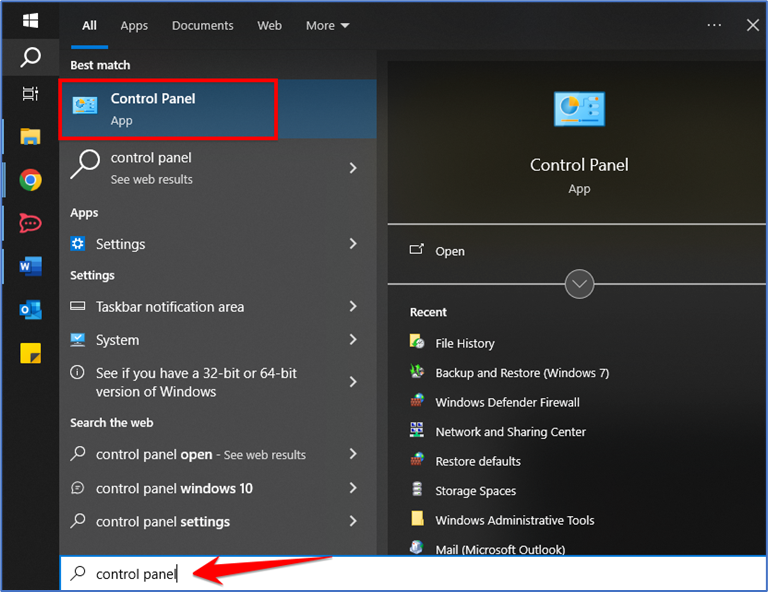
- First, click on the Windows Start and type in Control Panel. Then, open the Control Panel from the list.
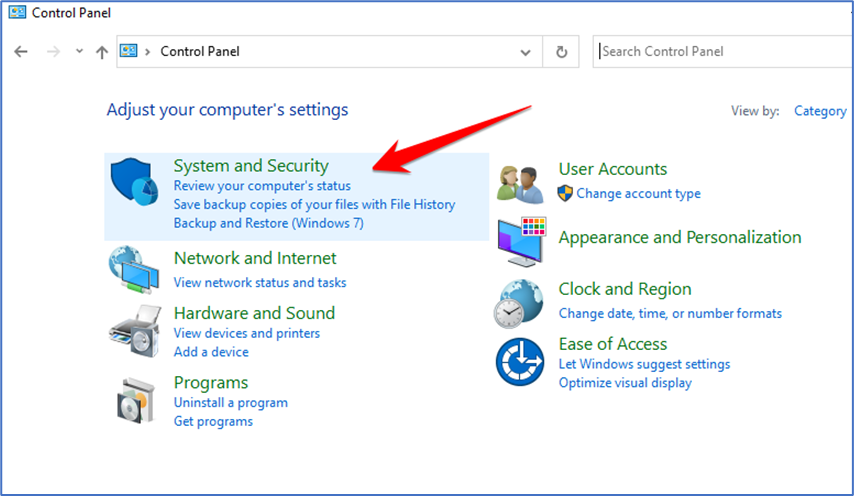
- On the Control Panel, click on the System and Security option as shown below.
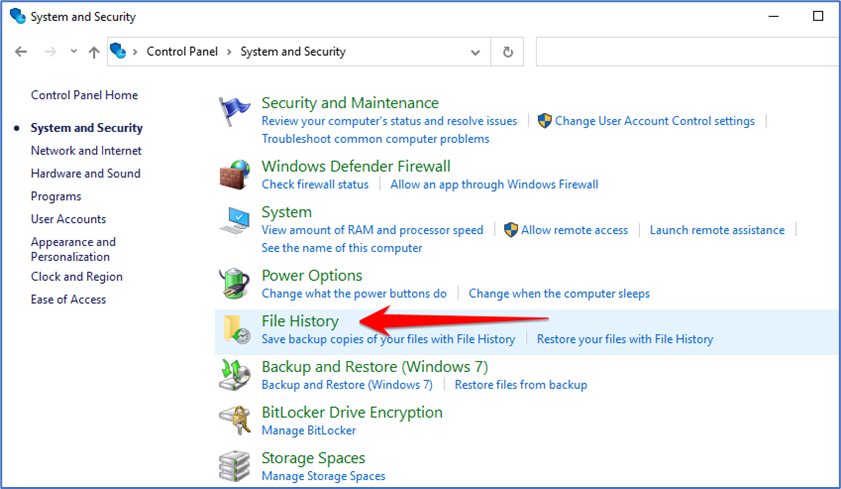
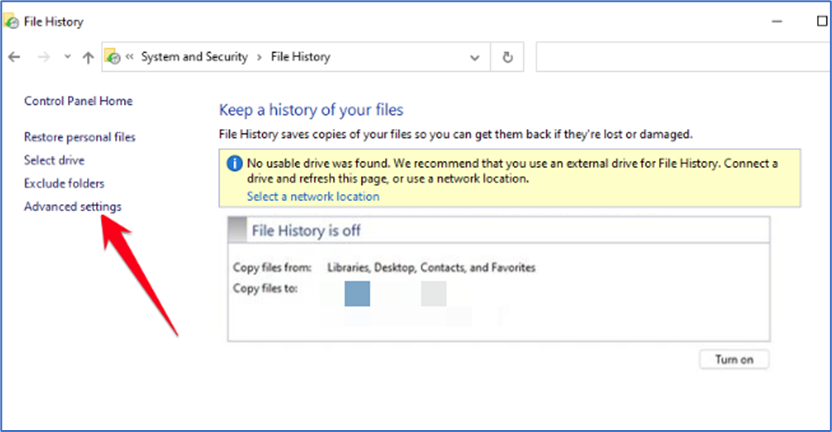
- On the next page, select the File History option.
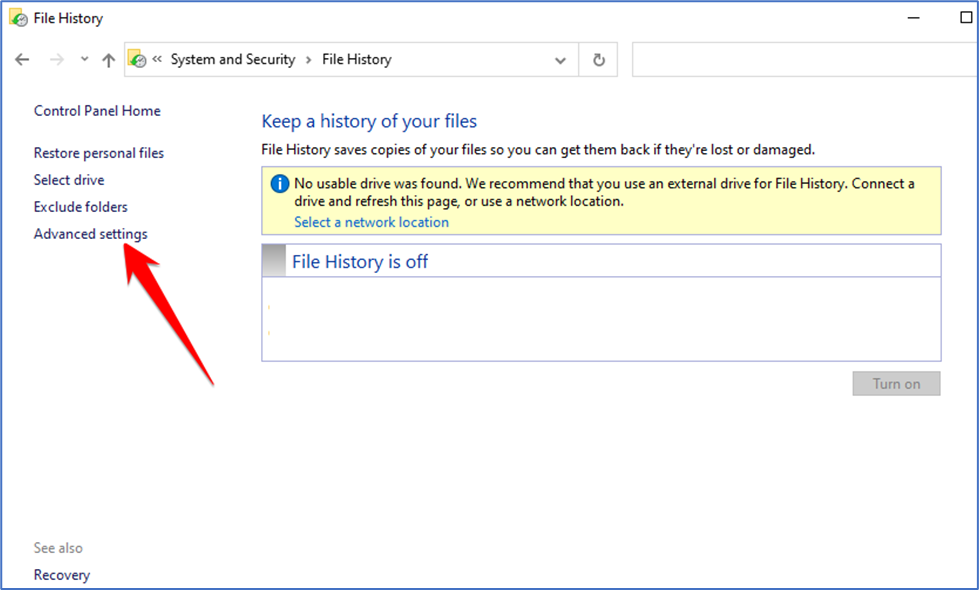
- Now connect an external drive and refresh the Window. Next, click on the Advanced Settings on the left sidebar.
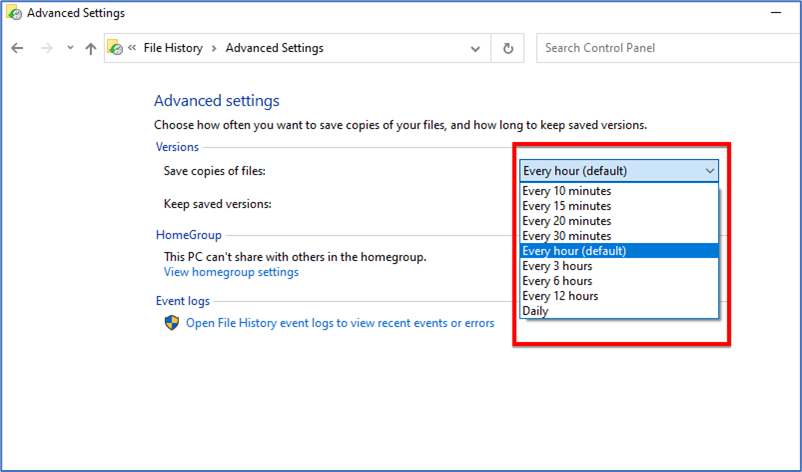
- You must set a schedule to run the File History on the next screen. The default is Every Hour; you can change the time frame from the drop-down menu.
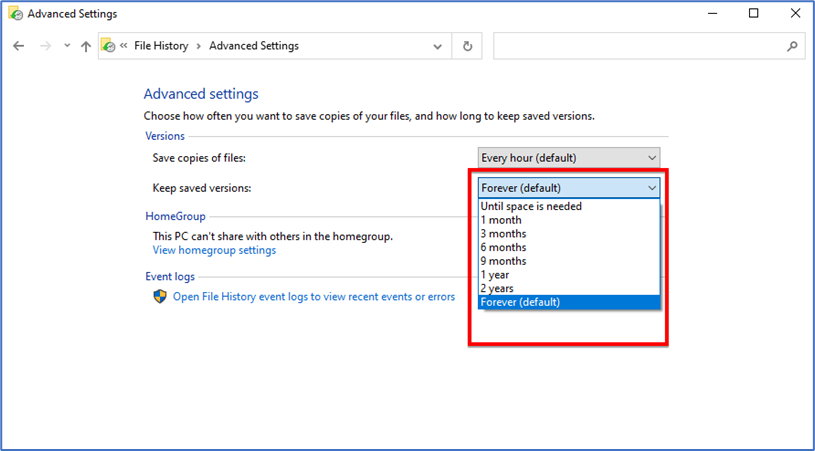
- Next, select the dropdown for Keep saved versions and change it to your preference.
- If you want to exclude any folder, click the Exclude folders option and add the folder you don’t want to backup.
- To disable the File History, click on the Turnoff button as shown below.
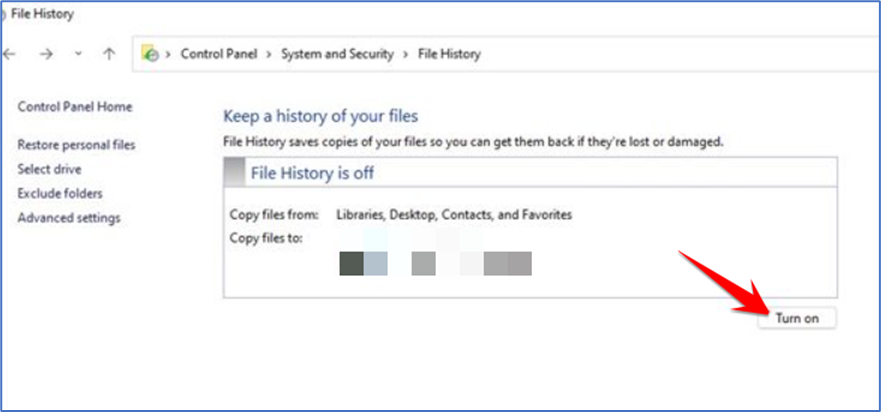
The File History will only back up files from Libraries, Contacts, Desktop, and Favorites folders
That’s it.