In today’s interconnected world, remote desktop solutions have become an essential tool for businesses and individuals alike. Whether you need to access your work computer from home or provide technical support to a family member, remote desktop solutions offer the convenience of accessing a computer from a distance. In this blog post, we’ll walk you through the steps to set up and use remote desktop solutions on Windows.
Step 1: Enable Remote Desktop on the Host Computer
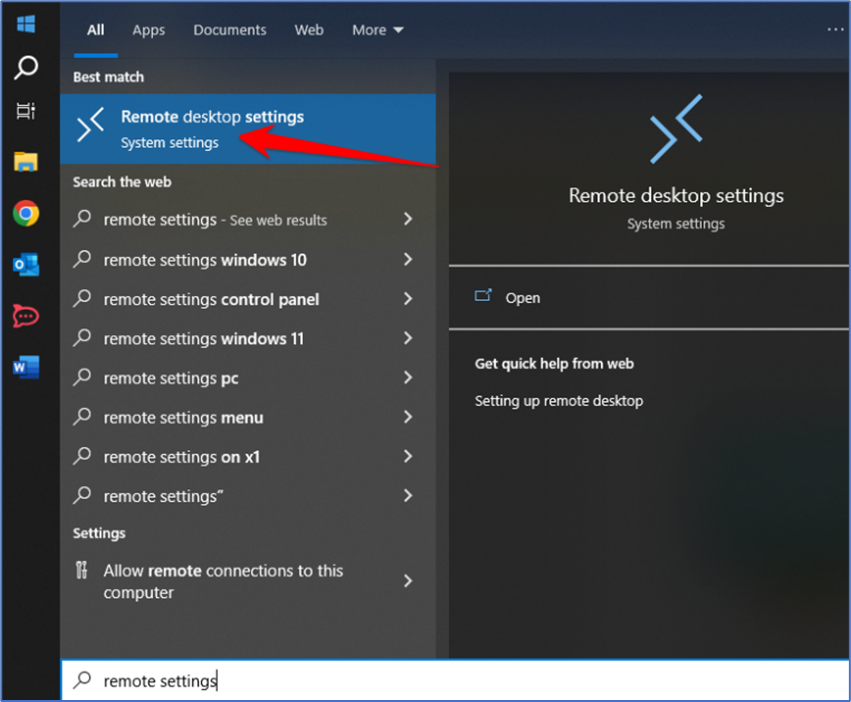
- Press the Windows key and search for “Remote settings.”
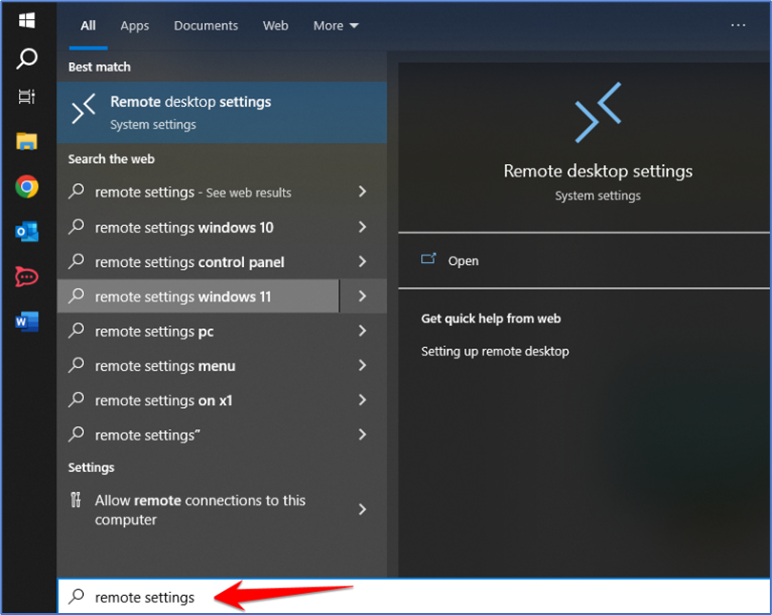
- Click on “Allow remote access to your computer” from the search results.
- In the “System Properties” window, navigate to the “Remote” tab.
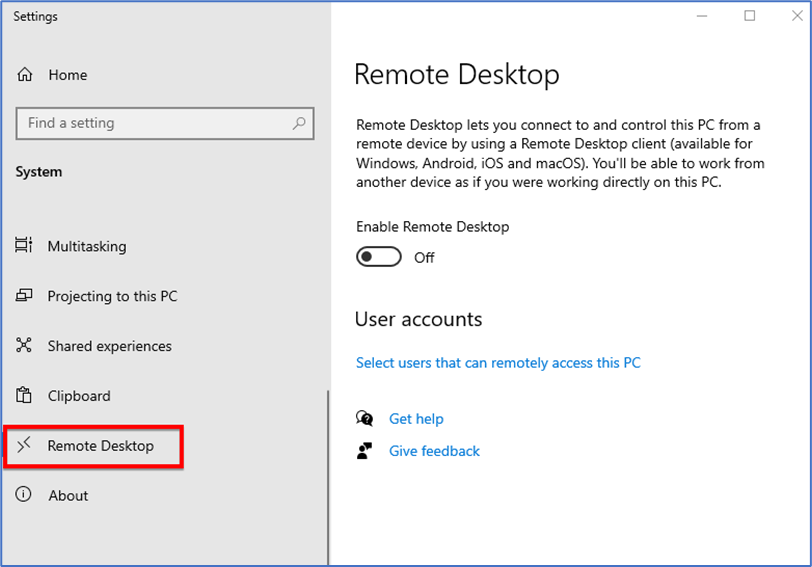
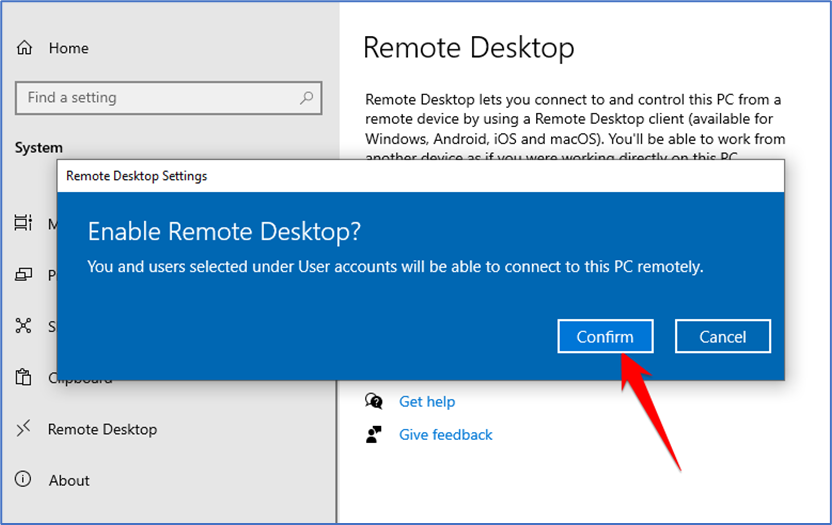
- Under the “Remote Desktop” section, select the option for “Allow remote connections to this computer.”
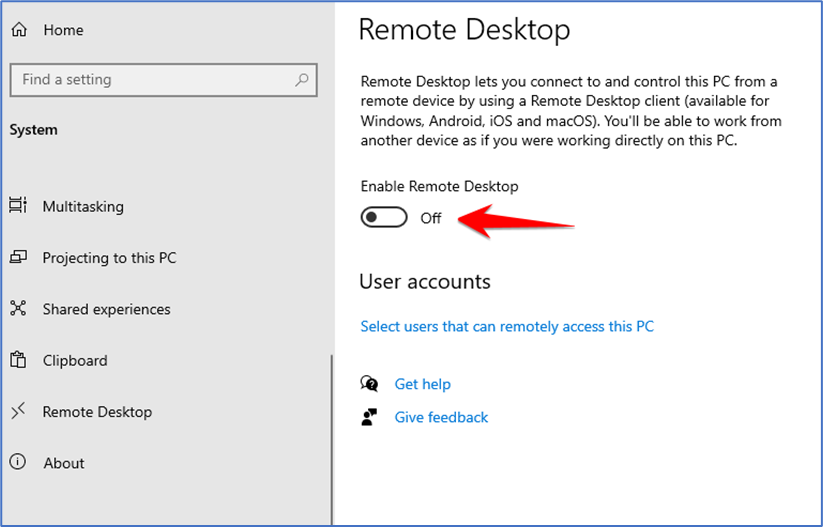
- Click on “Confirm” and then “OK” to save the changes.
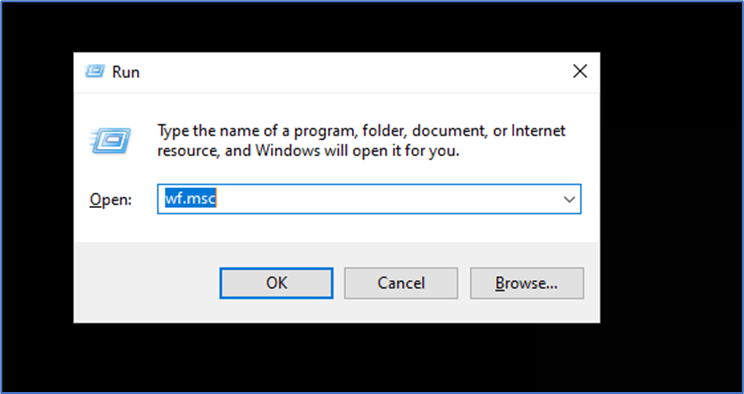
Step 2: Configure Firewall and Router Settings
- Ensure that your computer’s firewall allows Remote Desktop connections.
- If you’re behind a router, you’ll need to set up port forwarding. Forward port 3389 to your computer’s local IP address.
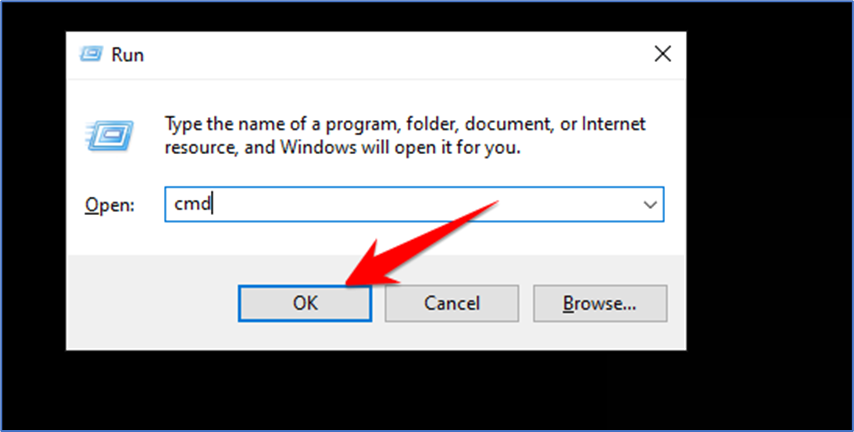
Step 3: Find the Host Computer’s IP Address
- Press Windows + R to open the Run dialog.
- Type “cmd” and press Enter to open the Command Prompt.
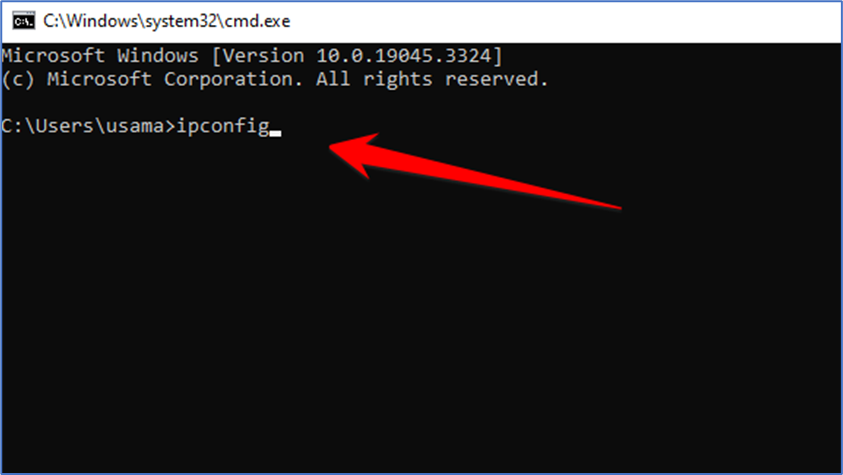
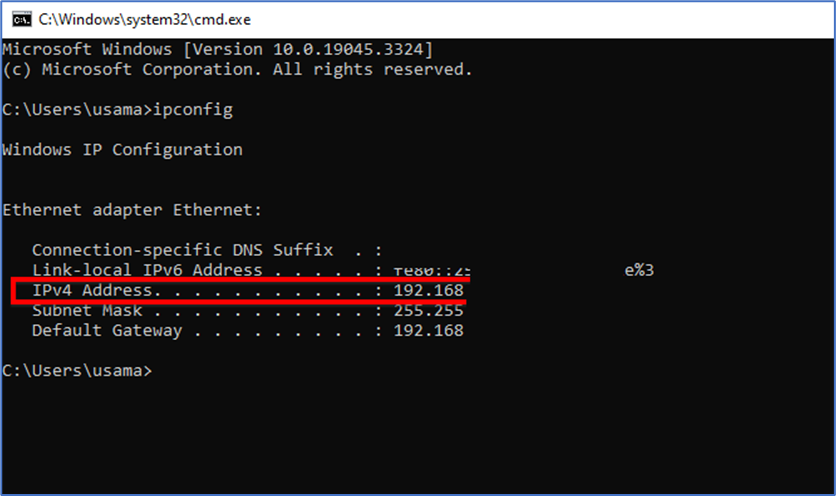
- In the Command Prompt, type “ipconfig” and press Enter.
- Look for the IPv4 address under your active network connection – this is your computer’s local IP address.
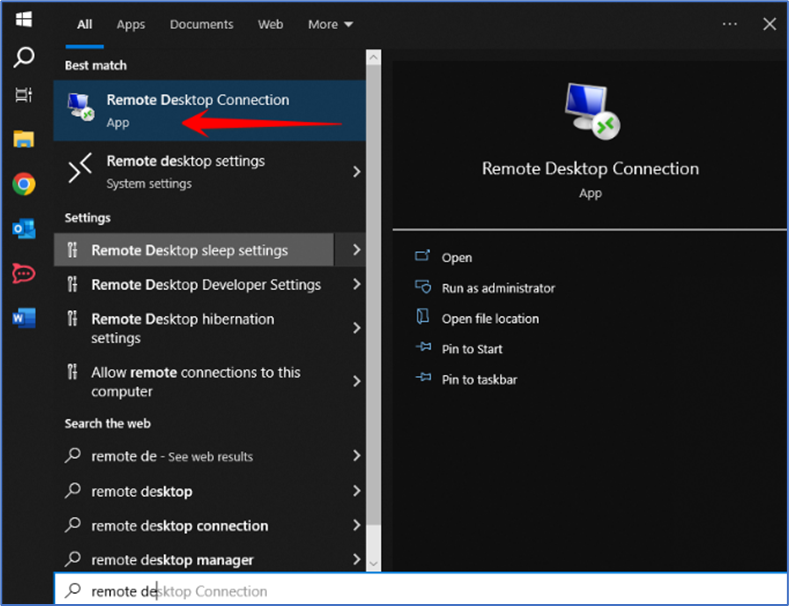
Step 4: Set Up Remote Desktop Client (On the Remote Computer)
- On the remote computer (the one you’ll be using to access the host), search for “Remote Desktop Connection” in the Start menu.
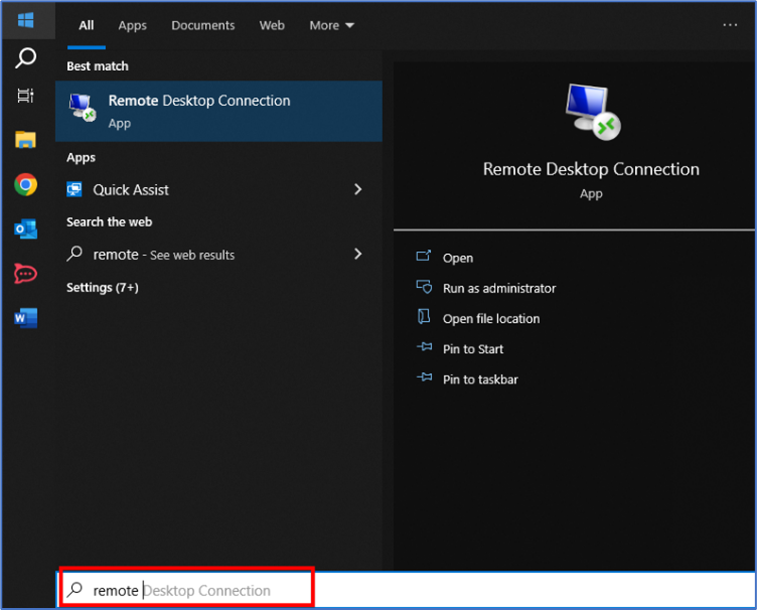
- Click on the Remote Desktop Connection app to open it.
- In the app, type the IP address of the host computer and click “Connect.”

- You might be prompted for credentials – enter the username and password of the host computer’s account.
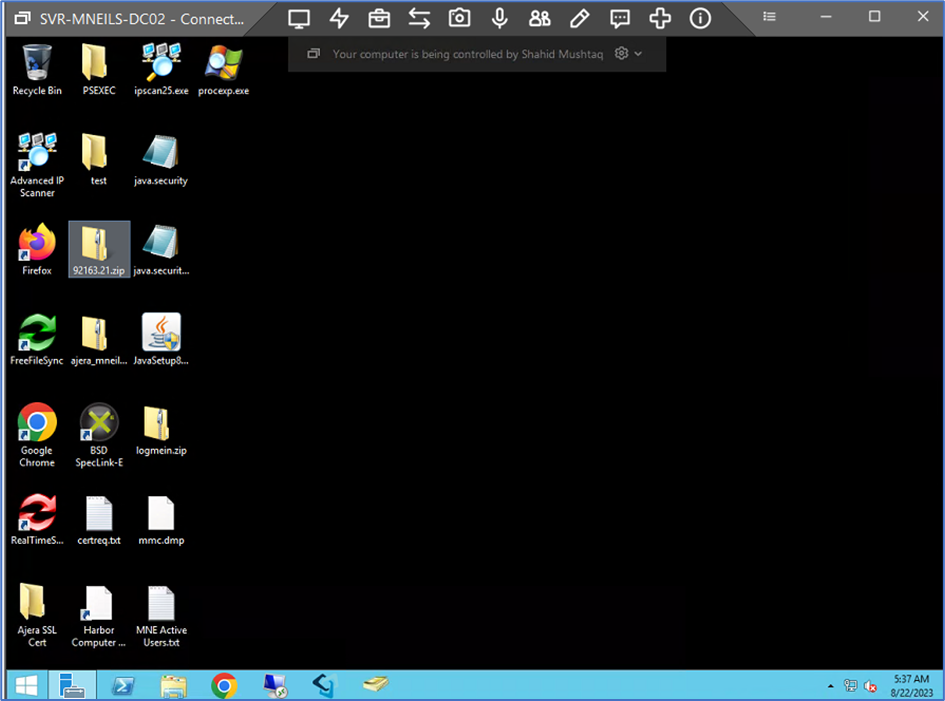
Step 5: Accessing the Host Computer Remotely
- Once connected, you’ll see the host computer’s desktop on your remote computer’s screen.
- You can now control the host computer just as if you were sitting in front of it.
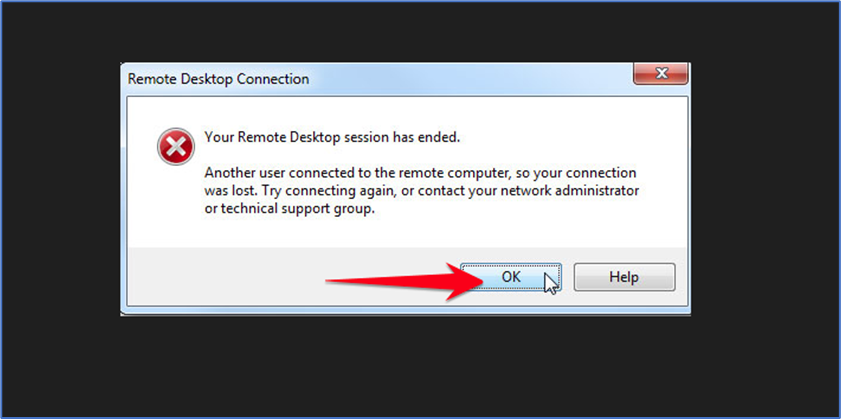
Step 6: Disconnecting and Ending the Session
- To disconnect, simply close the Remote Desktop Connection window. This will leave your session running on the host computer.
- If you want to end the session on the host computer as well, click on the “Start” button, then the user icon, and choose “Sign out.”

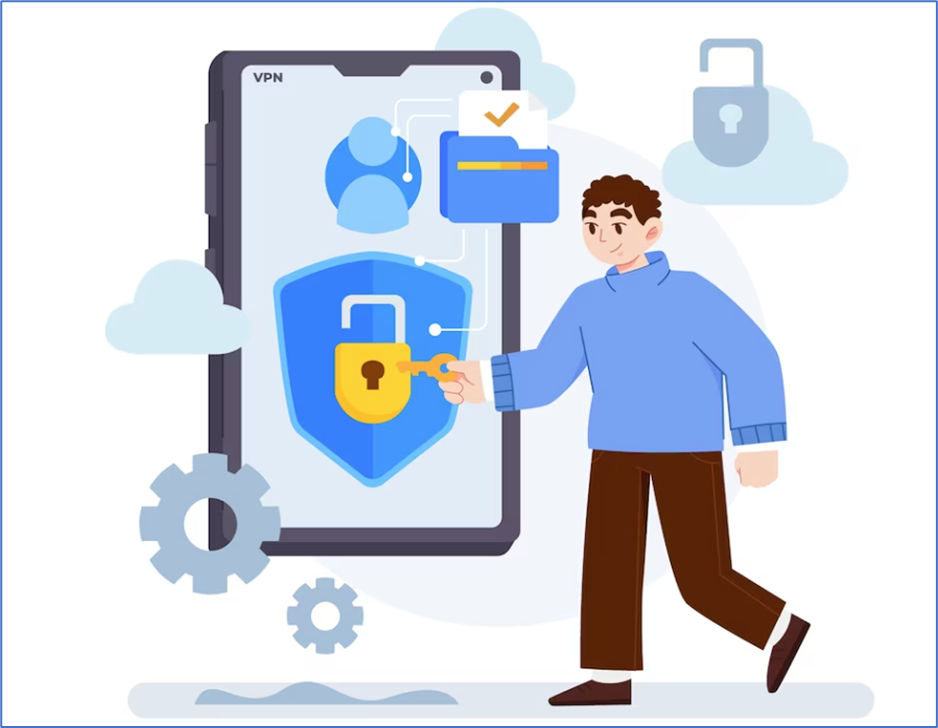
Step 7: Advanced Settings and Security
- To enhance security, consider using Network Level Authentication (NLA) in the Remote Desktop settings on both the host and remote computers.
- Use strong, unique passwords for the accounts you use for remote access.
- Regularly update your Windows operating system and remote desktop software to stay protected against vulnerabilities.
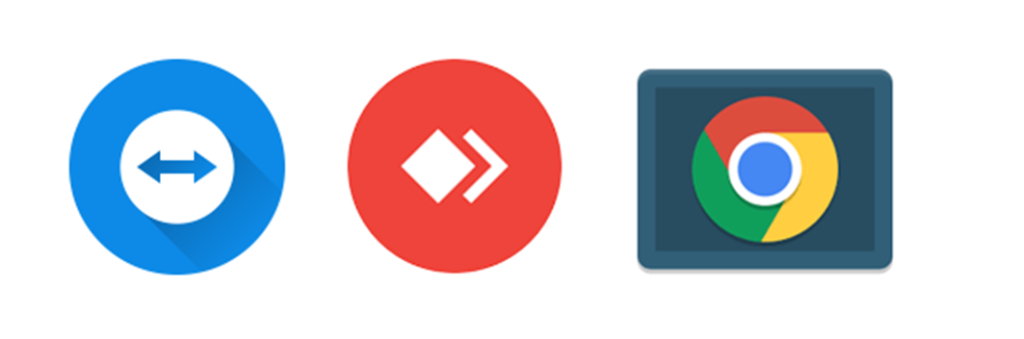
Step 8: Remote Desktop Alternatives
- Windows also offers Remote Desktop apps for Android and iOS devices, allowing you to access your computer from your smartphone or tablet.
- There are third-party remote desktop solutions available that offer additional features and capabilities, such as TeamViewer, Any Desk, and Chrome Remote Desktop.
Remote desktop solutions provide an efficient and convenient way to access computers remotely, whether for work, troubleshooting, or personal use. By following these steps, you can easily set up and use a remote desktop on Windows, staying connected and productive regardless of your physical location. Remember to prioritize security by enabling encryption, using strong passwords, and keeping your software up to date.