In the world of Windows, there’s a hidden gem that can greatly enhance your productivity and control over your system – Windows PowerShell. While the Command Prompt has long been a staple, PowerShell takes things to a whole new level. In this beginner’s guide, we’ll explore the power of Windows PowerShell, walk you through its basics, and show you how to harness its capabilities for various tasks.
What is Windows PowerShell?
Windows PowerShell is a command-line shell and scripting language designed for system administrators and power users. It provides a more flexible and powerful alternative to the traditional Command Prompt. With PowerShell, you can automate tasks, manage system configurations, and perform administrative tasks more efficiently.

Getting Started with PowerShell
1. Launching PowerShell
You can access PowerShell in various ways:
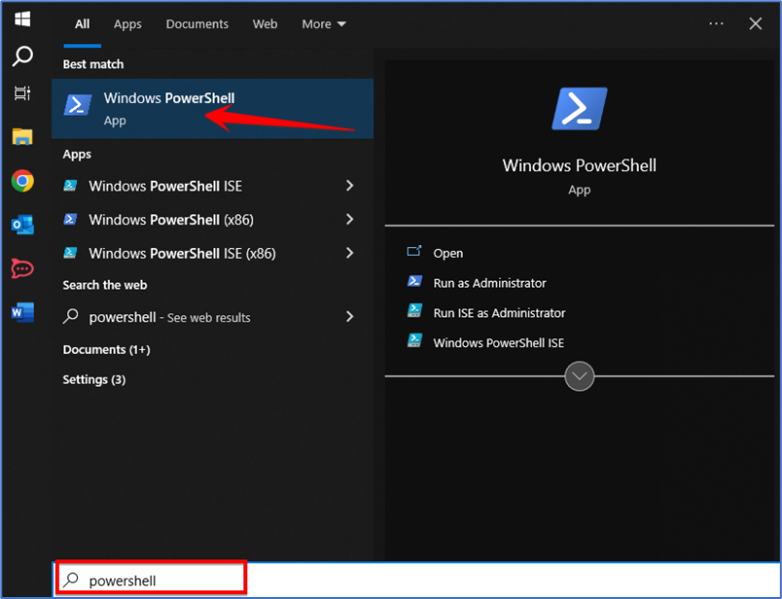
- Search: Type “PowerShell” in the Windows search bar and click on the “Windows PowerShell” result.
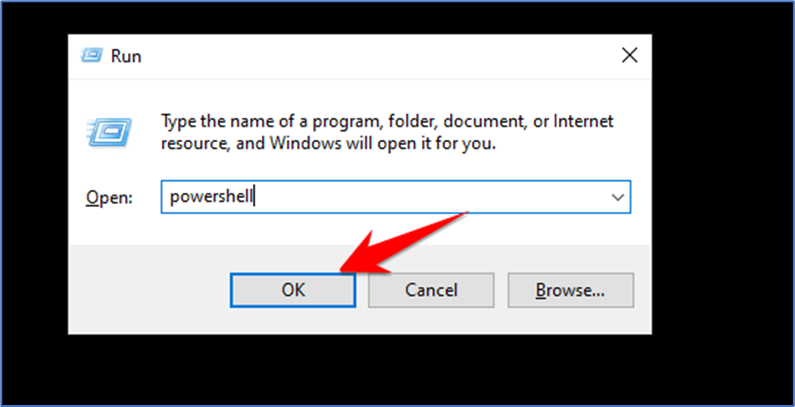
- Run: Press Win + R, type “powershell,” and hit Enter.
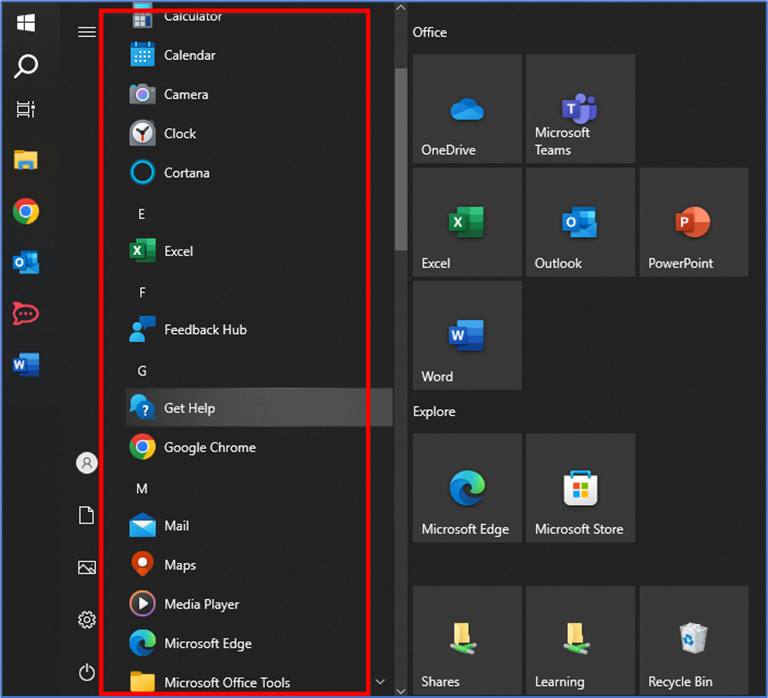
- Start Menu: Navigate to the “Windows PowerShell” folder in the Start Menu.
2. Understanding the Basics
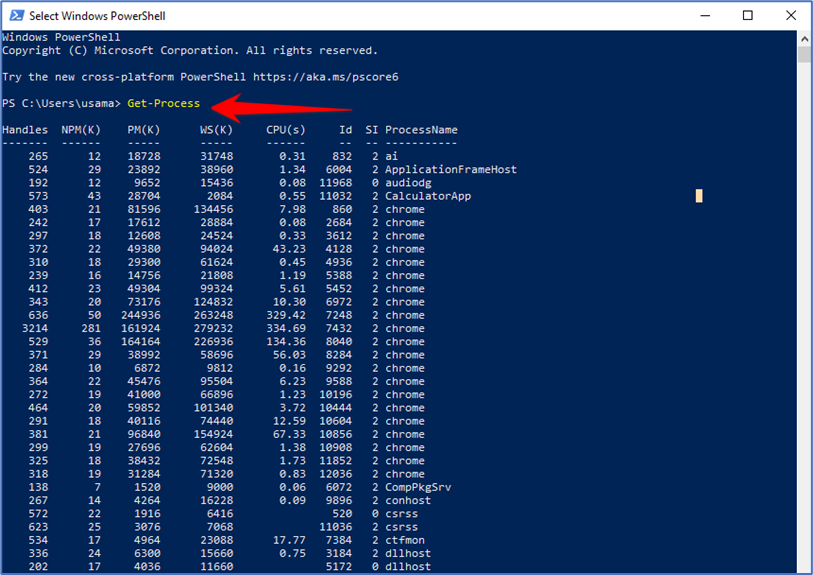
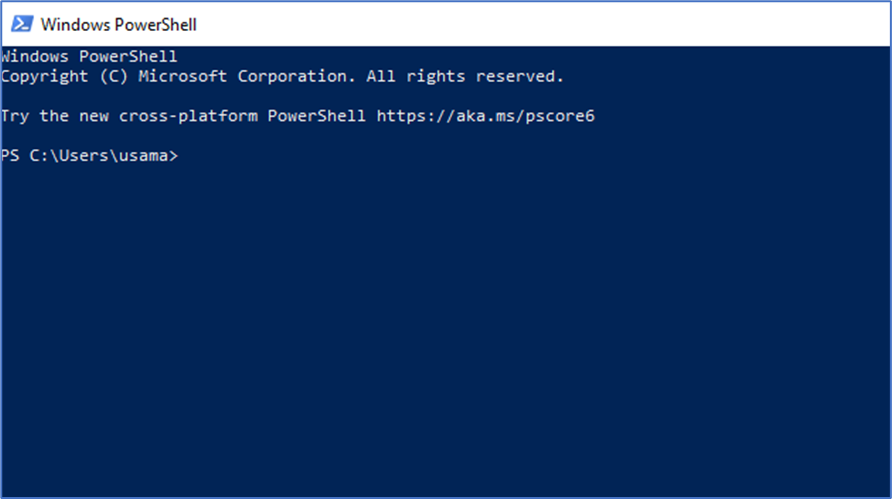
Once you have PowerShell open, you’ll notice a blue command-line interface. Here are a few basic concepts:
- Cmdlets: These are PowerShell’s basic commands. They follow a Verb-Noun structure, like Get-Process, Set-Item, or New-Item.
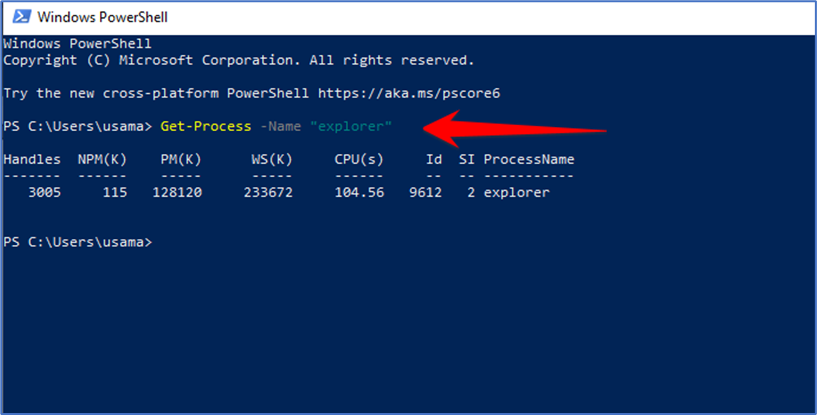
- Parameters: Cmdlets take parameters that modify their behavior. For example, Get-Process -Name “explorer” retrieves information about the “explorer” process.
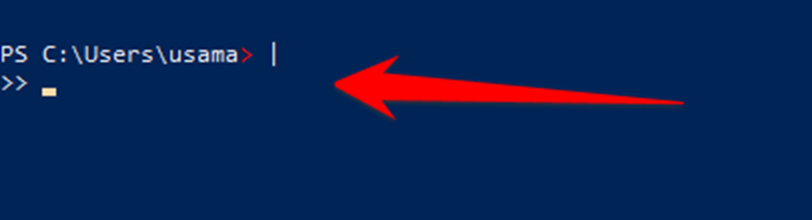
- Pipelines: You can chain cmdlets together using the pipeline (|). This lets you pass the output of one cmdlet as input to another.
Practical Examples
1. File and Directory Manipulation
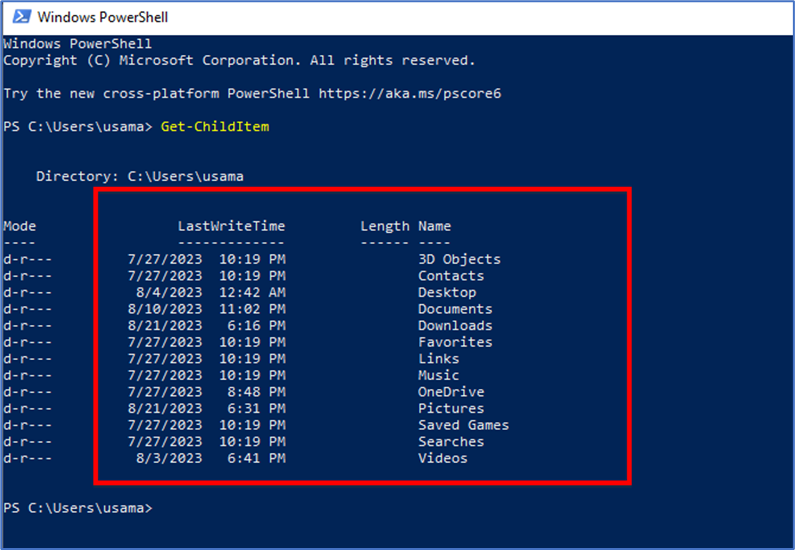
- To list files and folders in the current directory: Get-ChildItem
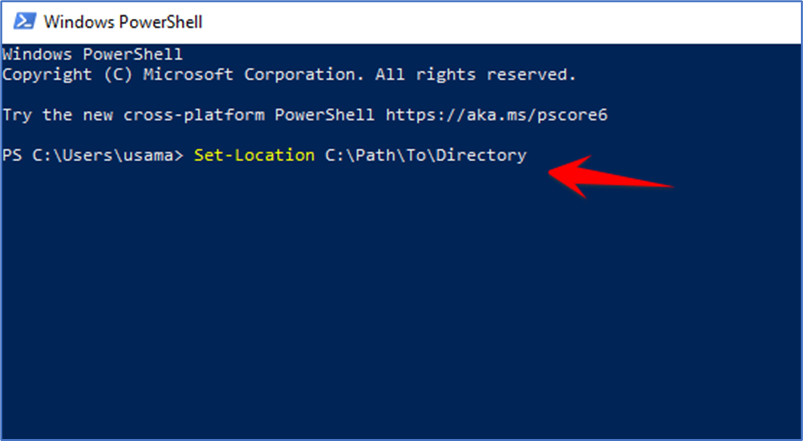
- To change to a different directory: Set-Location C:\Path\To\Directory
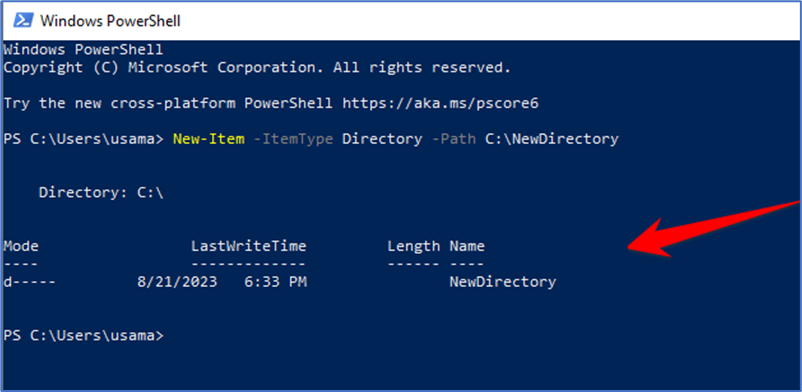
- To create a new directory: New-Item -ItemType Directory -Path C:\NewDirectory
2. System Information
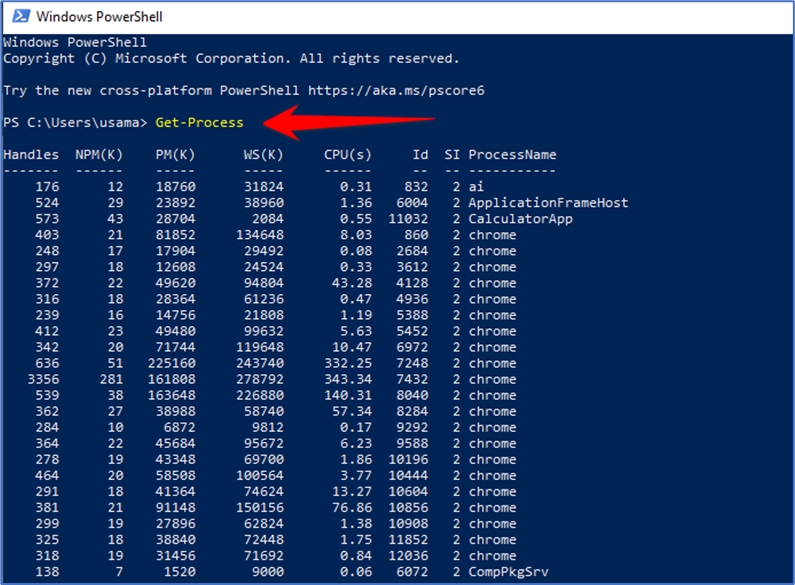
- To list running processes: Get-Process
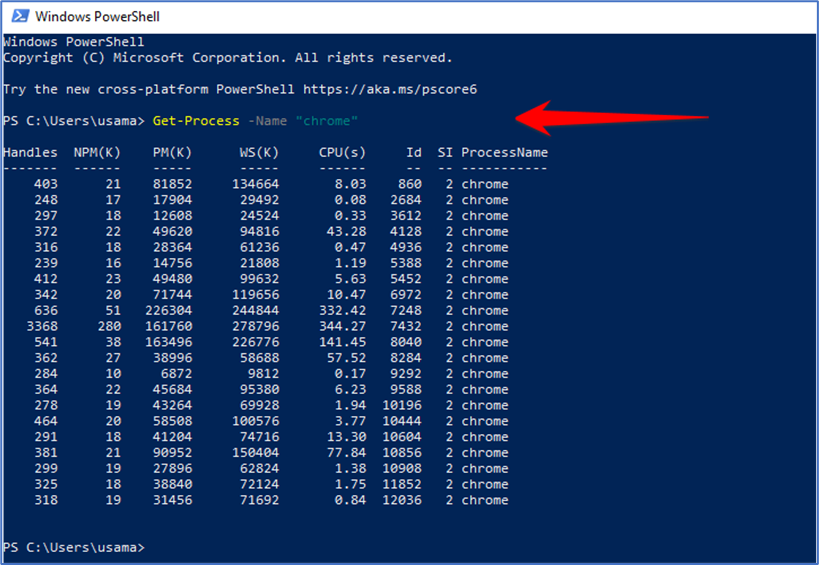
- To get information about a specific process: Get-Process -Name “chrome”
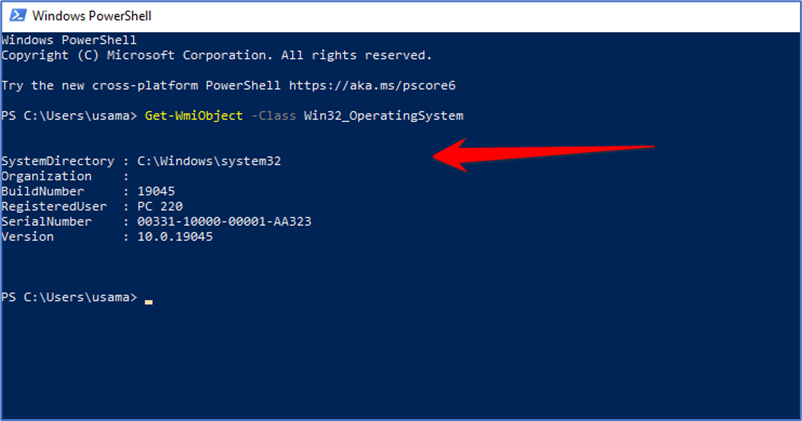
- To get system information: Get-WmiObject -Class Win32_OperatingSystem
3. Managing Services
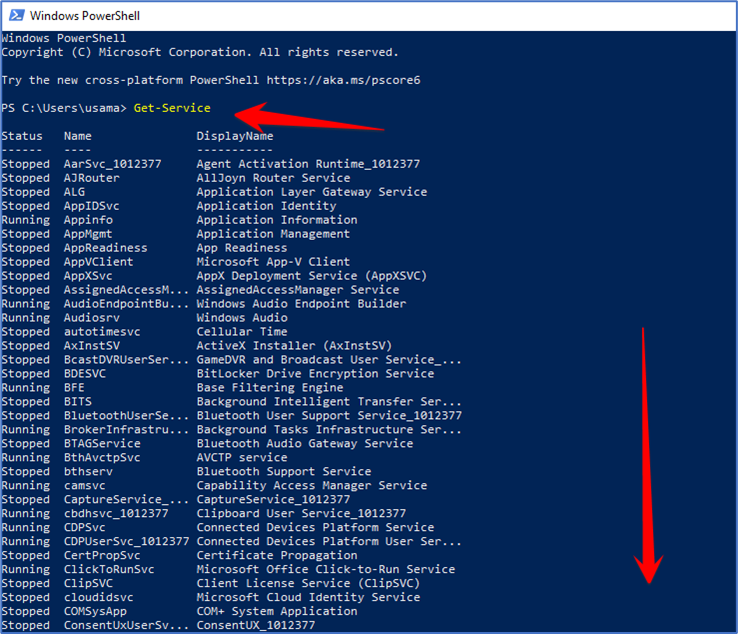
- To list all services: Get-Service
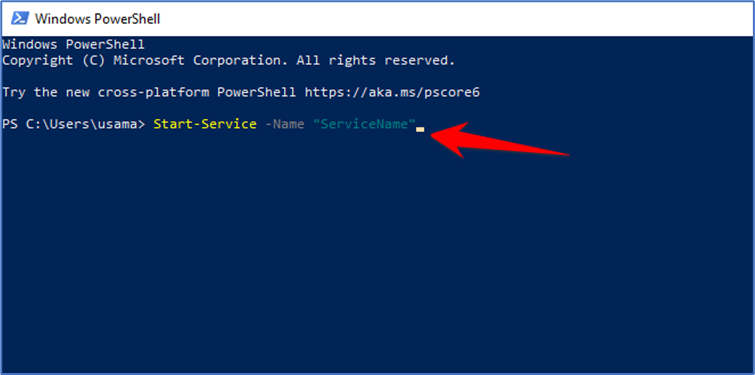
- To start a service: Start-Service -Name “ServiceName”
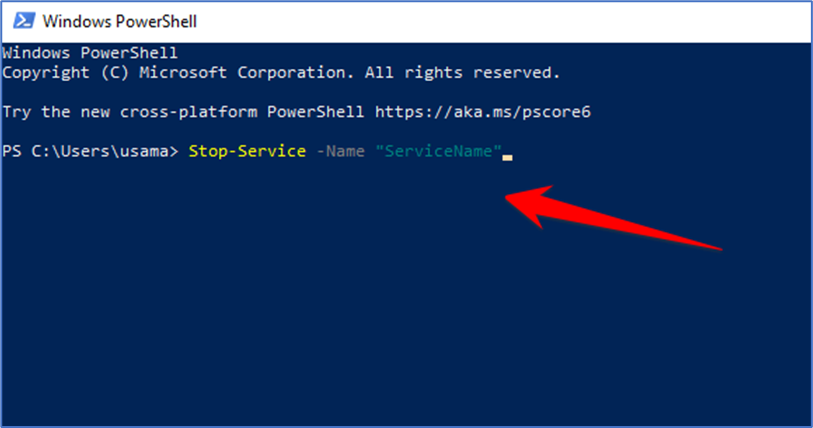
- To stop a service: Stop-Service -Name “ServiceName”
Scripting with PowerShell
One of the most powerful aspects of PowerShell is its scripting capabilities. You can create reusable scripts to automate complex tasks.
1. Creating a Script
- Open Notepad or any code editor.
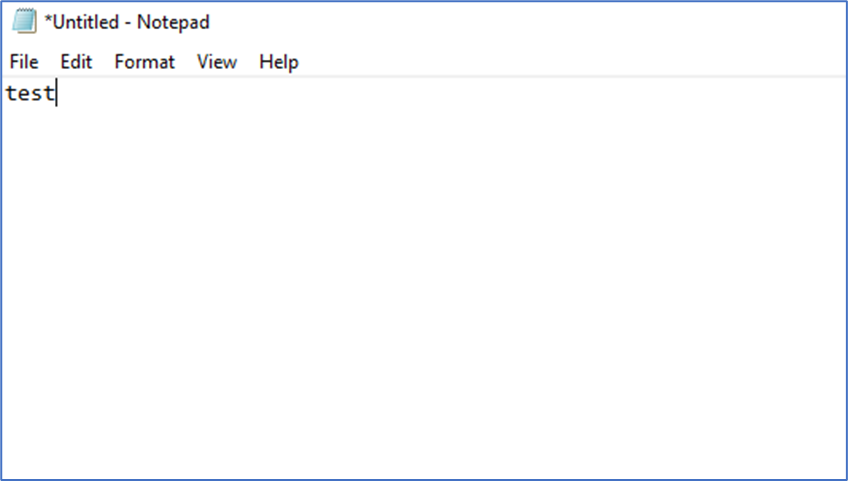
- Write your PowerShell commands, one per line.
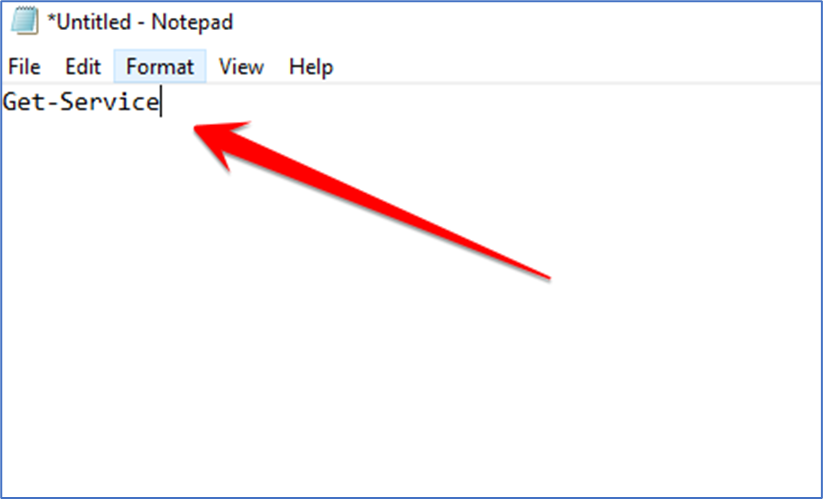
- Save the file with a .ps1 extension, like myscript.ps1.

2. Running a Script
To run your script, follow these steps:
- Open PowerShell.
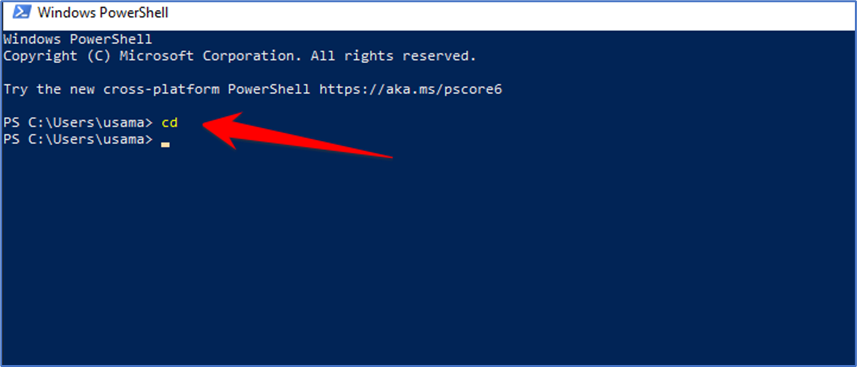
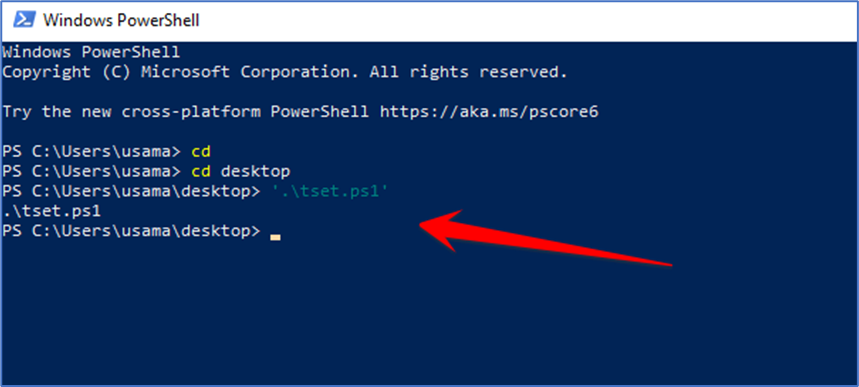
- Use the cd command to navigate to the directory where your script is located.
- Run the script with .\myscript.ps1. (You might need to adjust execution policies for scripts.)
Windows PowerShell is a versatile tool that empowers you to take control of your system, automate tasks, and perform administrative actions efficiently. By mastering the basics outlined in this guide, you’re on your way to harnessing the power of PowerShell. As you explore its capabilities, you’ll find that it’s not just a command-line interface but a gateway to a world of automation and productivity on your Windows machine.