You don’t have to manually type the sequential dates if you want to fill the cells in your spreadsheet. Microsoft Excel provides two options for rapidly and automatically filling dates into the fields of your choice. We’ll demonstrate how to apply those techniques.
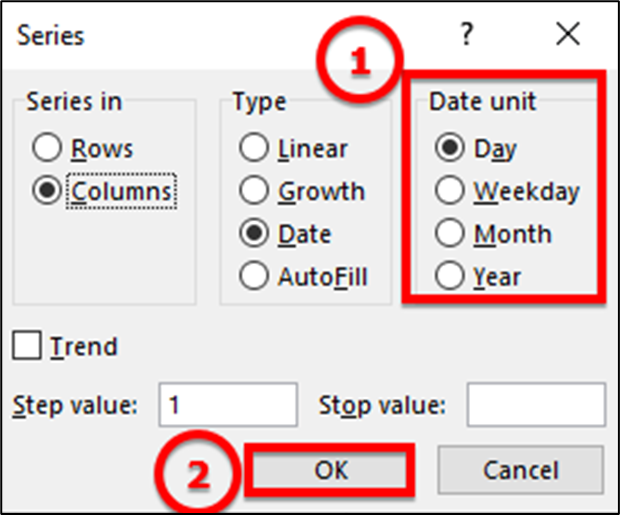
You enter the initial date into a spreadsheet cell using either of these ways. Excel then automatically inserts successive dates into the other cells depending on this date. Regardless of the fill method you choose from the list below, you get the same results. However, you have control over the date unit counted with the Fill Command approach.
Methods -1
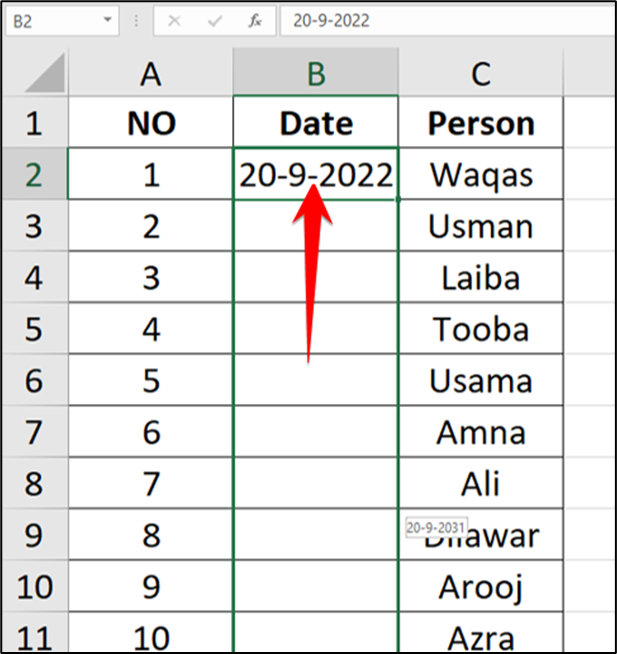
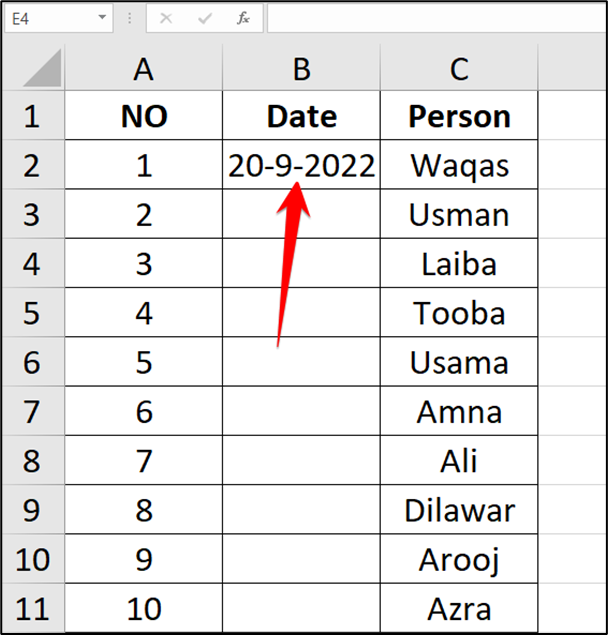
In this method, in your spreadsheet, click the cell that contains a date. If you don’t already have one, type one in, like today’s date.
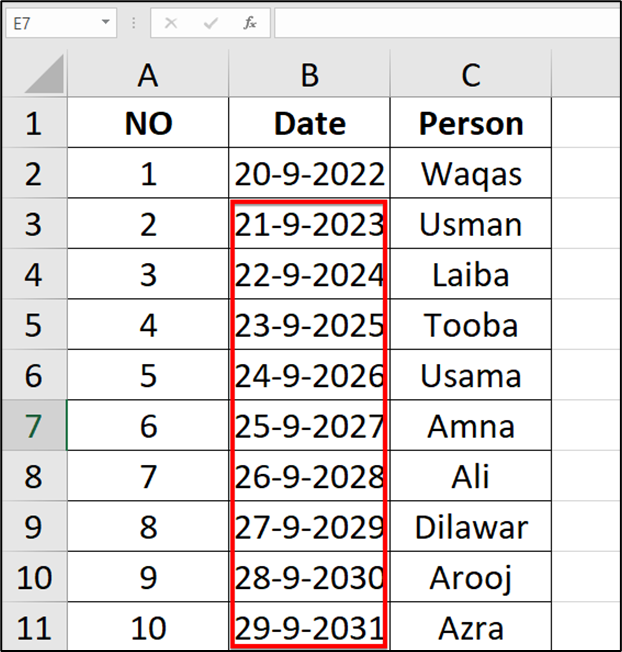
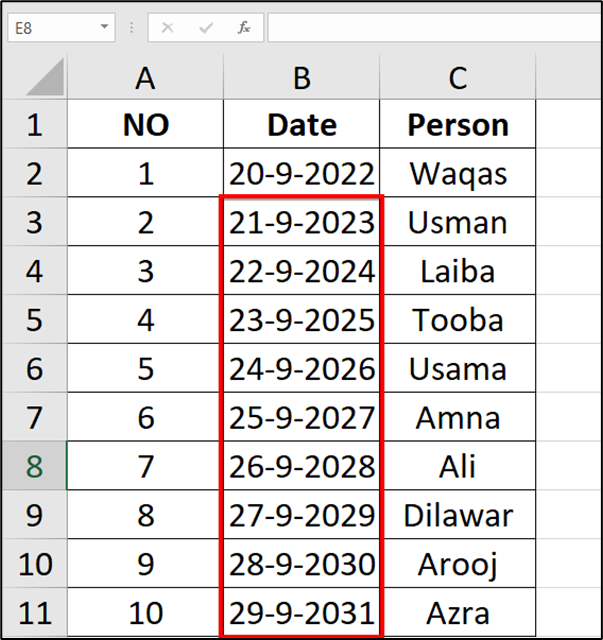
Your selected cells now have sequential dates in them.
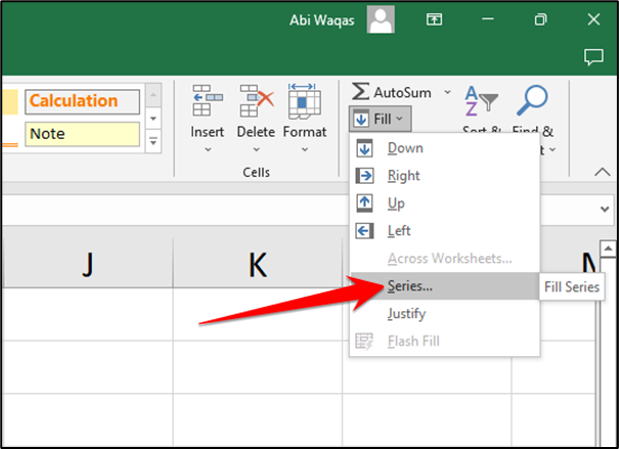
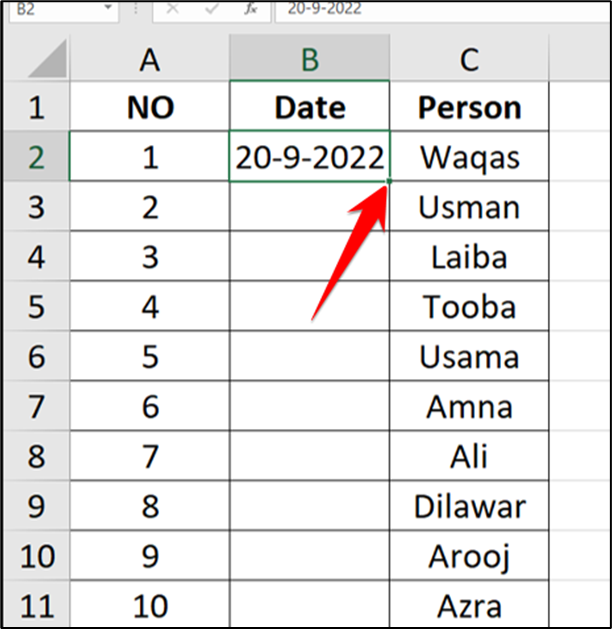
In this command, in your spreadsheet, select your date cell as well as the cells where you want sequential dates.