Microsoft’s Windows 10 operating system allows you to adjust your clock manually as well as automatically using a Settings option. We’ll show you how to do just that.
Manually Change the Time on Windows 10
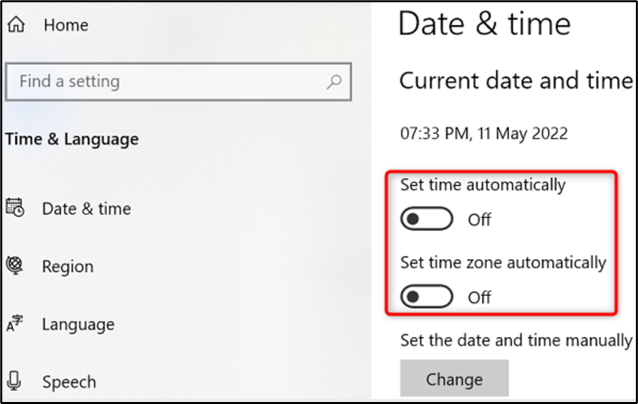
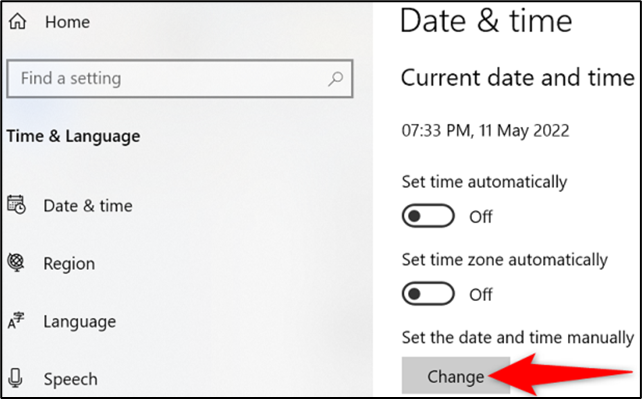
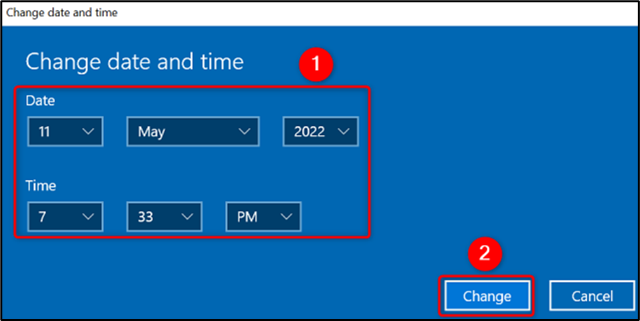
If you’d like to manually specify your PC’s time, use the built-in Settings option to do that.
Start by launching Settings on your PC. Press the Windows+i keys and the app will open.
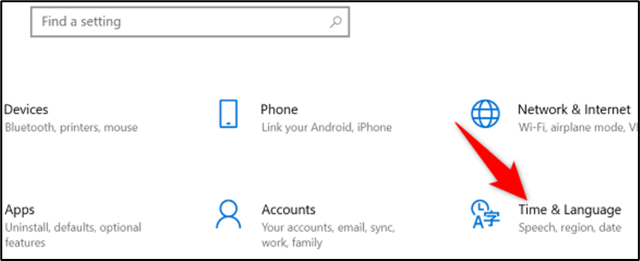
On the Settings window, choose “Time & Language.”

Set the Time to Update Automatically on Windows 10
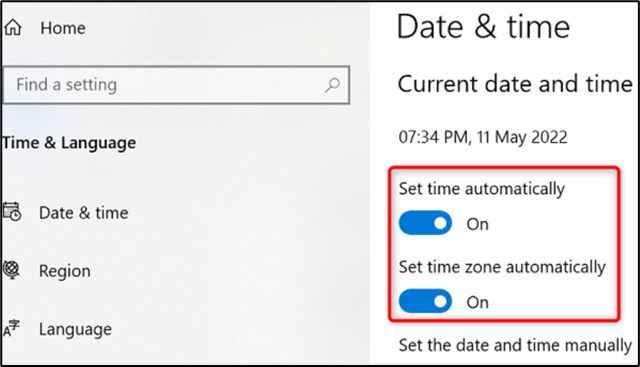
If you don’t wish to use the manually-specified time on your PC, you can get Windows 10 to automatically adjust the clock. Your PC syncs with Microsoft’s time servers to fetch the current time for your region.
This feature should be enabled by default, but you or another user may have disabled it in the past. To enable it again, first, open Settings by pressing Windows+i. On the Settings window, click “Time & Language.”
On the “Date & Time” page, turn on both the “Set Time Automatically” and “Set Time Zone Automatically” options.