If you’ve had experience with premium VPN services on your PC, you may be familiar with the Kill Switch feature. The Kill Switch is designed to automatically disconnect your internet connection if an IP Leak or connection drop occurs, ensuring your online privacy and security.
While the Kill Switch is undoubtedly a valuable VPN feature, integrating it into your Windows 10 operating system can offer even more convenience. With a Kill Switch on Windows, you can instantly terminate your internet connection for added control and peace of mind.
Why do we need to kill Switch?
The Kill Switch serves various purposes and can be utilized in multiple ways to enhance your online security. It acts as a valuable panic button, enabling you to swiftly disconnect your internet connection whenever you detect any suspicious activity.
Moreover, it offers versatile applications, serving as a digital alternative to physically pulling the Ethernet cable in situations where an immediate cutoff is necessary. Thus, the Kill Switch stands out as one of the most influential and user-friendly methods to ensure a swift disconnection from the internet.

- Creating Kill Switch in Windows 10 is pretty easy. First, Press Windows Key + I button on your keyboard to open the Windows 10 Settings app

- On the Settings app, click on the Network & Internet option to open.

- Here note down the network adapter name that you want to connect.

- Now Right-click on your desktop and select New then click on Shortcut.

- On the Shortcut dialog box, enter the script: “C:\Windows\System32\netsh.exe interface set interface name=”XXXX” admin = disabled”.
- Replace the XXXX with your network adapter name that you have noted in Step 3.

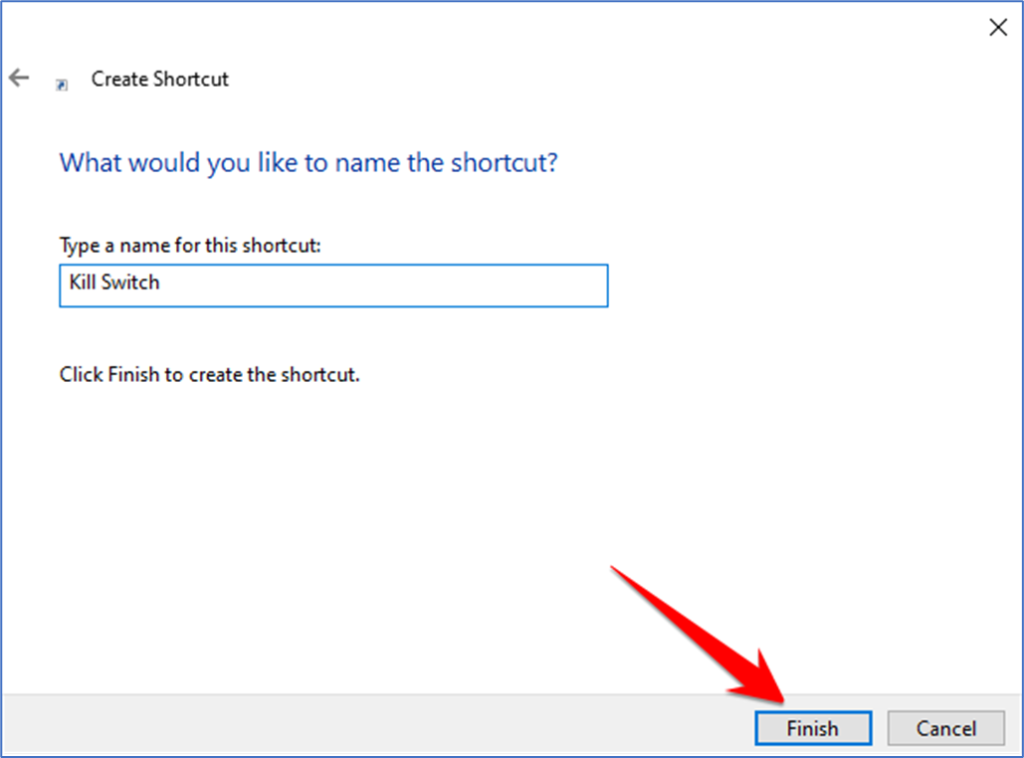
- Once done, click on the Next button. Next, enter a suitable name for the shortcut. You can name it anything you want, like Kill Switch, Stop Internet, etc.

- Now right-click on the shortcut file and select Properties.

- Next, click on the Advanced button, as shown in the screenshot below.

- Enable the Run as Administrator option on the Advanced Properties and click on the Ok button.

That’s it! You are done.