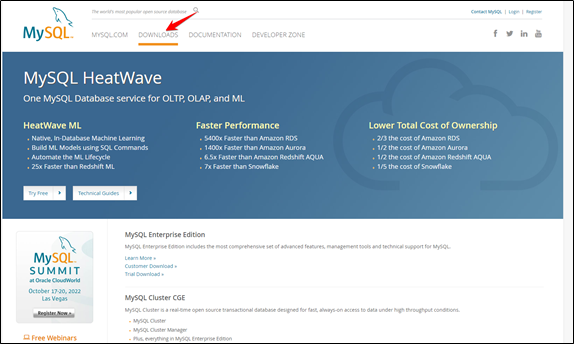
First, open the MySQL website on the browser. And copy that URL and paste it into your browser https://www.mysql.com/downloads/
Click on the downloads
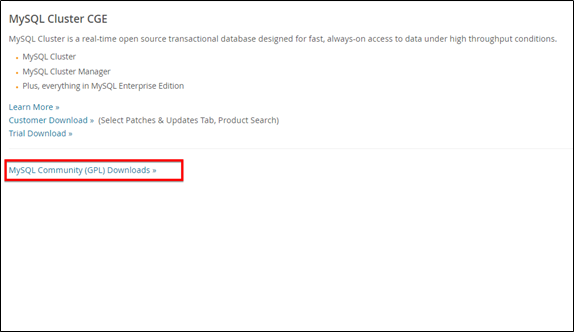
Scroll down and click on the MySQL Community (GPL) Downloads »
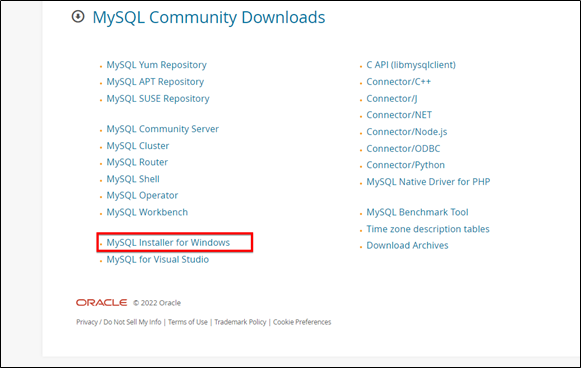
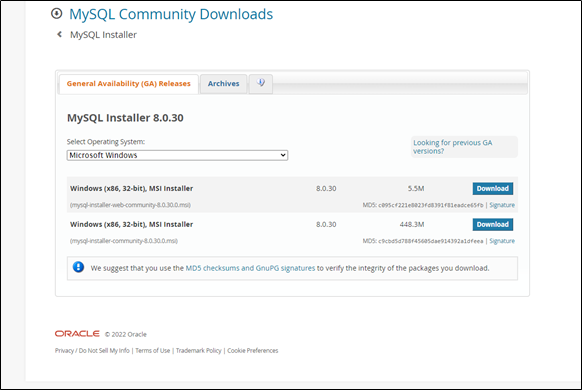
Select MYSQL installer for Windows.
Choose the desired installer and click on download.
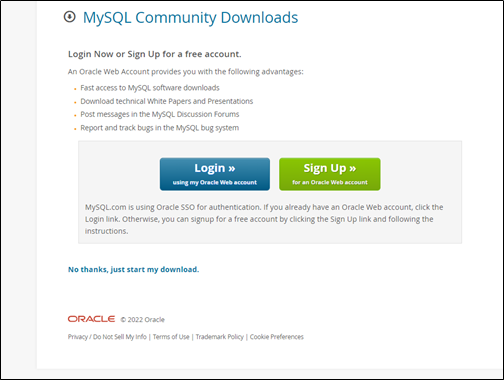
Click on No thanks, just start my download.
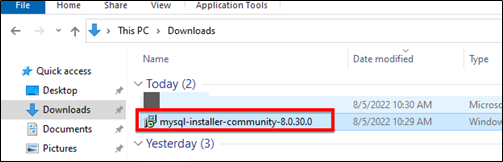
After the download, open the installer.
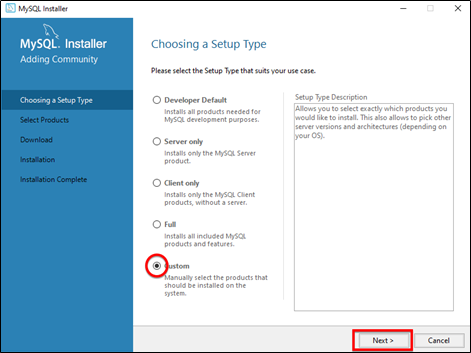
It will ask for permission. when it does, click Yes. The installer will start and then open. Now, it will ask to choose the setup type. Here I select Full. Click on Next. With this, you will install everything.
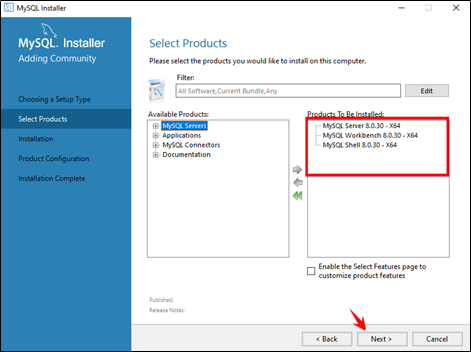
Open MySQL Servers, select the server you want to install, and move it to the Products to be installed window section. Now, expand Applications, choose MySQL Workbench and MySQL shell. Move both of them to Products to be installed and click on next.
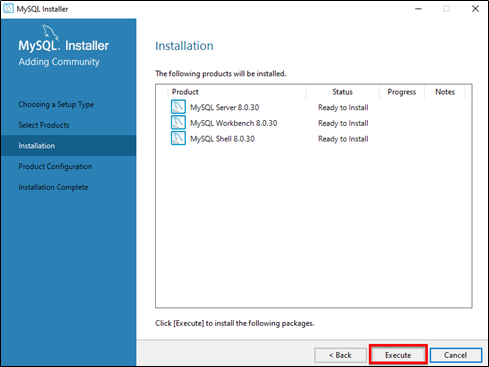
Now, click on the Execute button to download and install the MySQL server, MySQL Workbench, and MySQL shell.
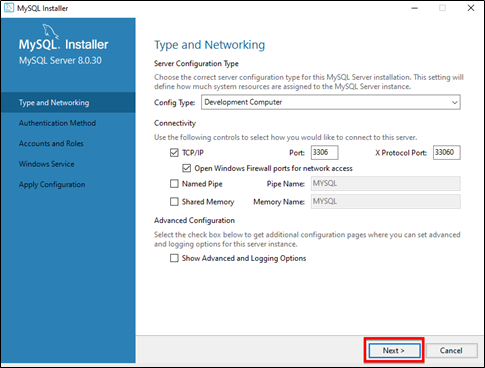
Once the product is ready to configure, click on Next. Under Type and Networking, go with the default settings and select Next.
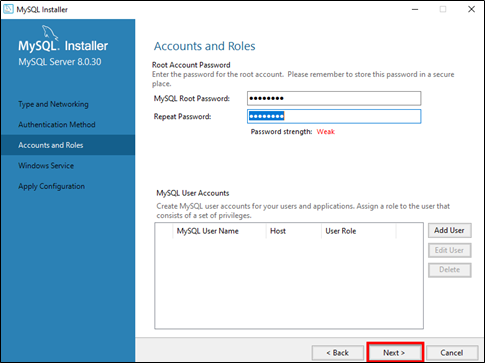
For authentication, use the recommended strong password encryption. Set your MySQL Root password and click on next.
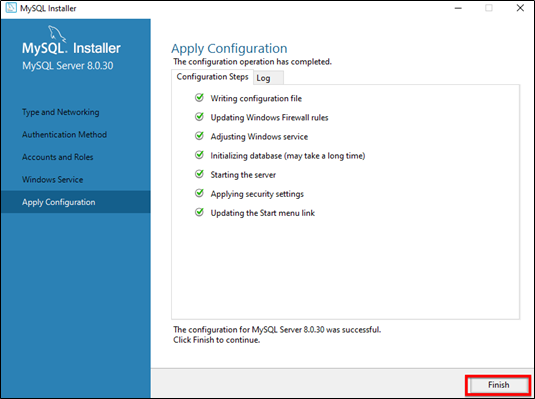
Go for the default windows service settings and under apply configuration, click on execute. Once the configuration is complete, click on finish.
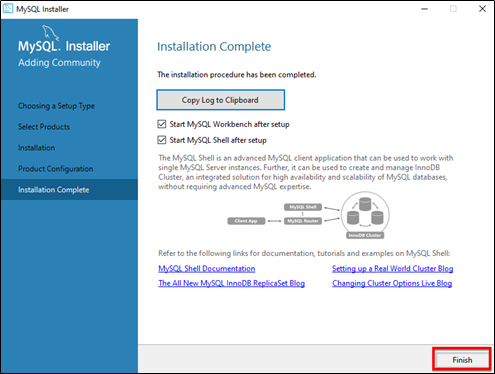
Complete the installation. This will now launch the MySQL Workbench and the MySQL Shell. Click on finish.
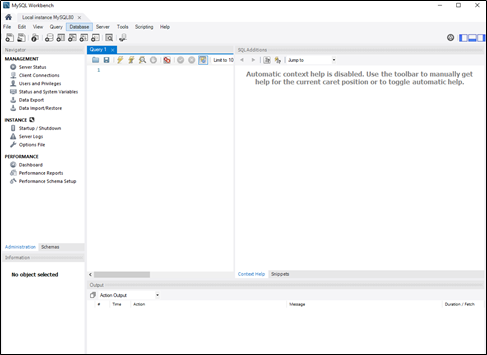
Once MySQL Workbench is installed, select the Local instance and enter the password.
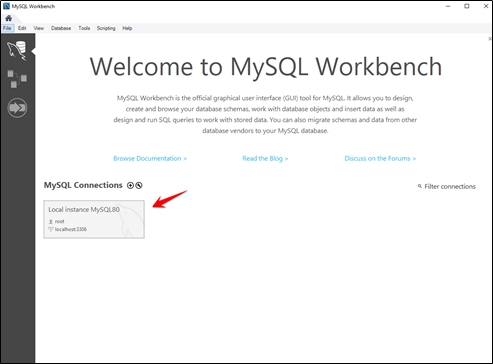
Now, you can use the MySQL query tab to write your SQL queries.