To add the timeout setting to power options, you just need to make an adjustment to one location in the Windows Registry.
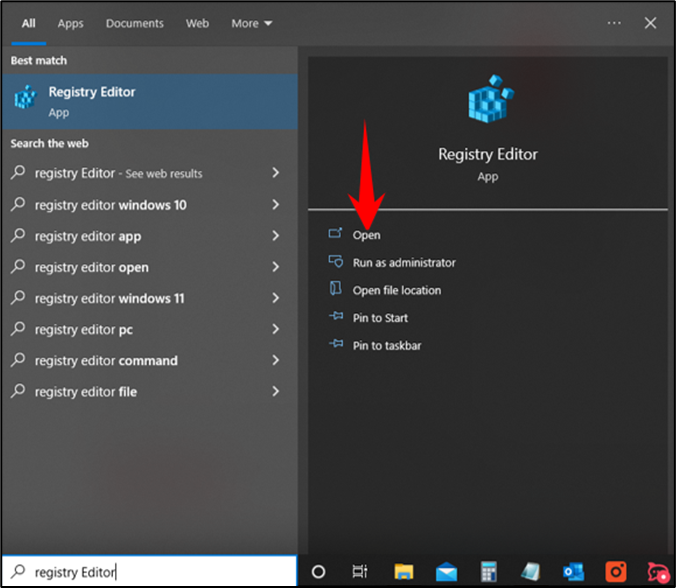
Open the Registry Editor by hitting Start and typing “Regedit.” Press Enter or click “Open” to open Registry Editor and give it permission to make changes to your PC.
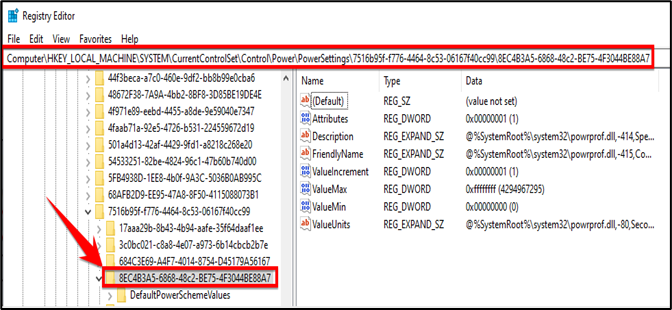
In the Registry Editor, use the left sidebar to navigate to the following key, or paste the path into the address bar:
HKEY_LOCAL_MACHINE\SYSTEM\CurrentControlSet\Control\Power\PowerSettings\7516b95f-f776-4464-8c53-06167f40cc99\8EC4B3A5-6868-48c2-BE75-4F3044BE88A7